This document will talk you through the process of how to create a new autoflow, and look at the defaults we have already created. You need to have the message you would like to send already created and you can do this by creating a template. The 'Templates' guide talks through how to do this.
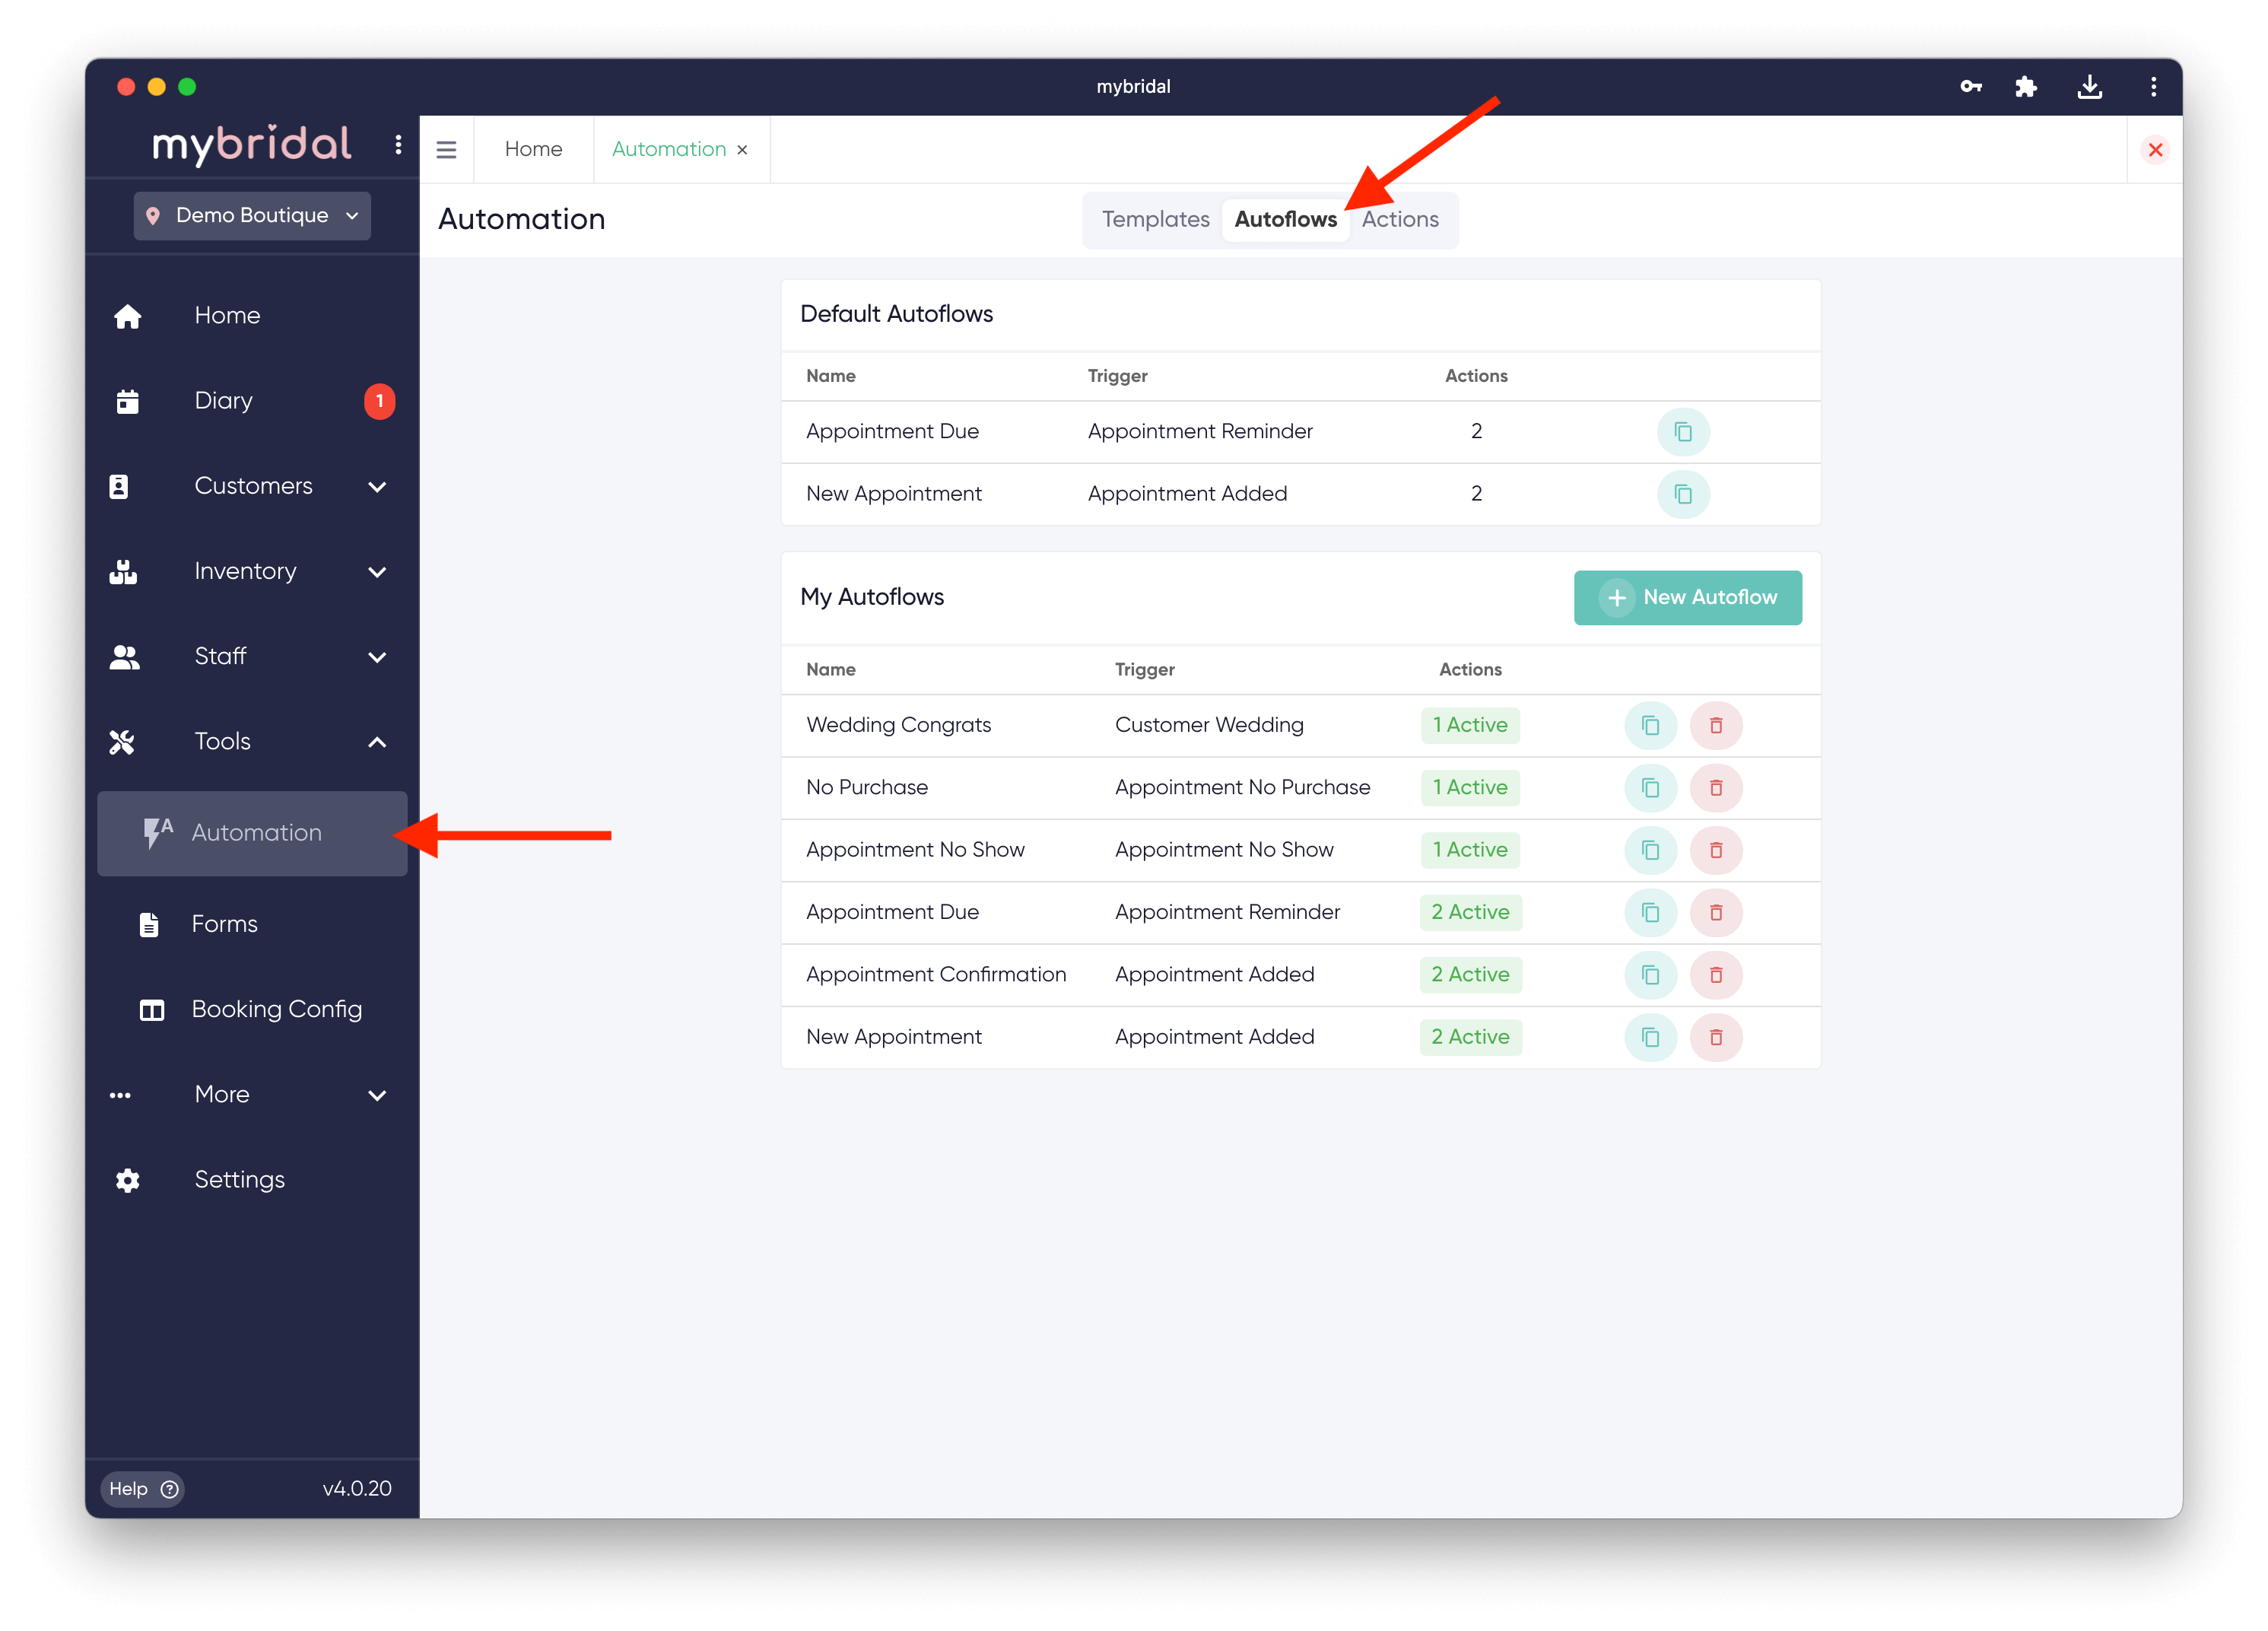
You can find autoflows by visiting the 'Automation' tab in the menu bar and then clicking 'Autoflows'.
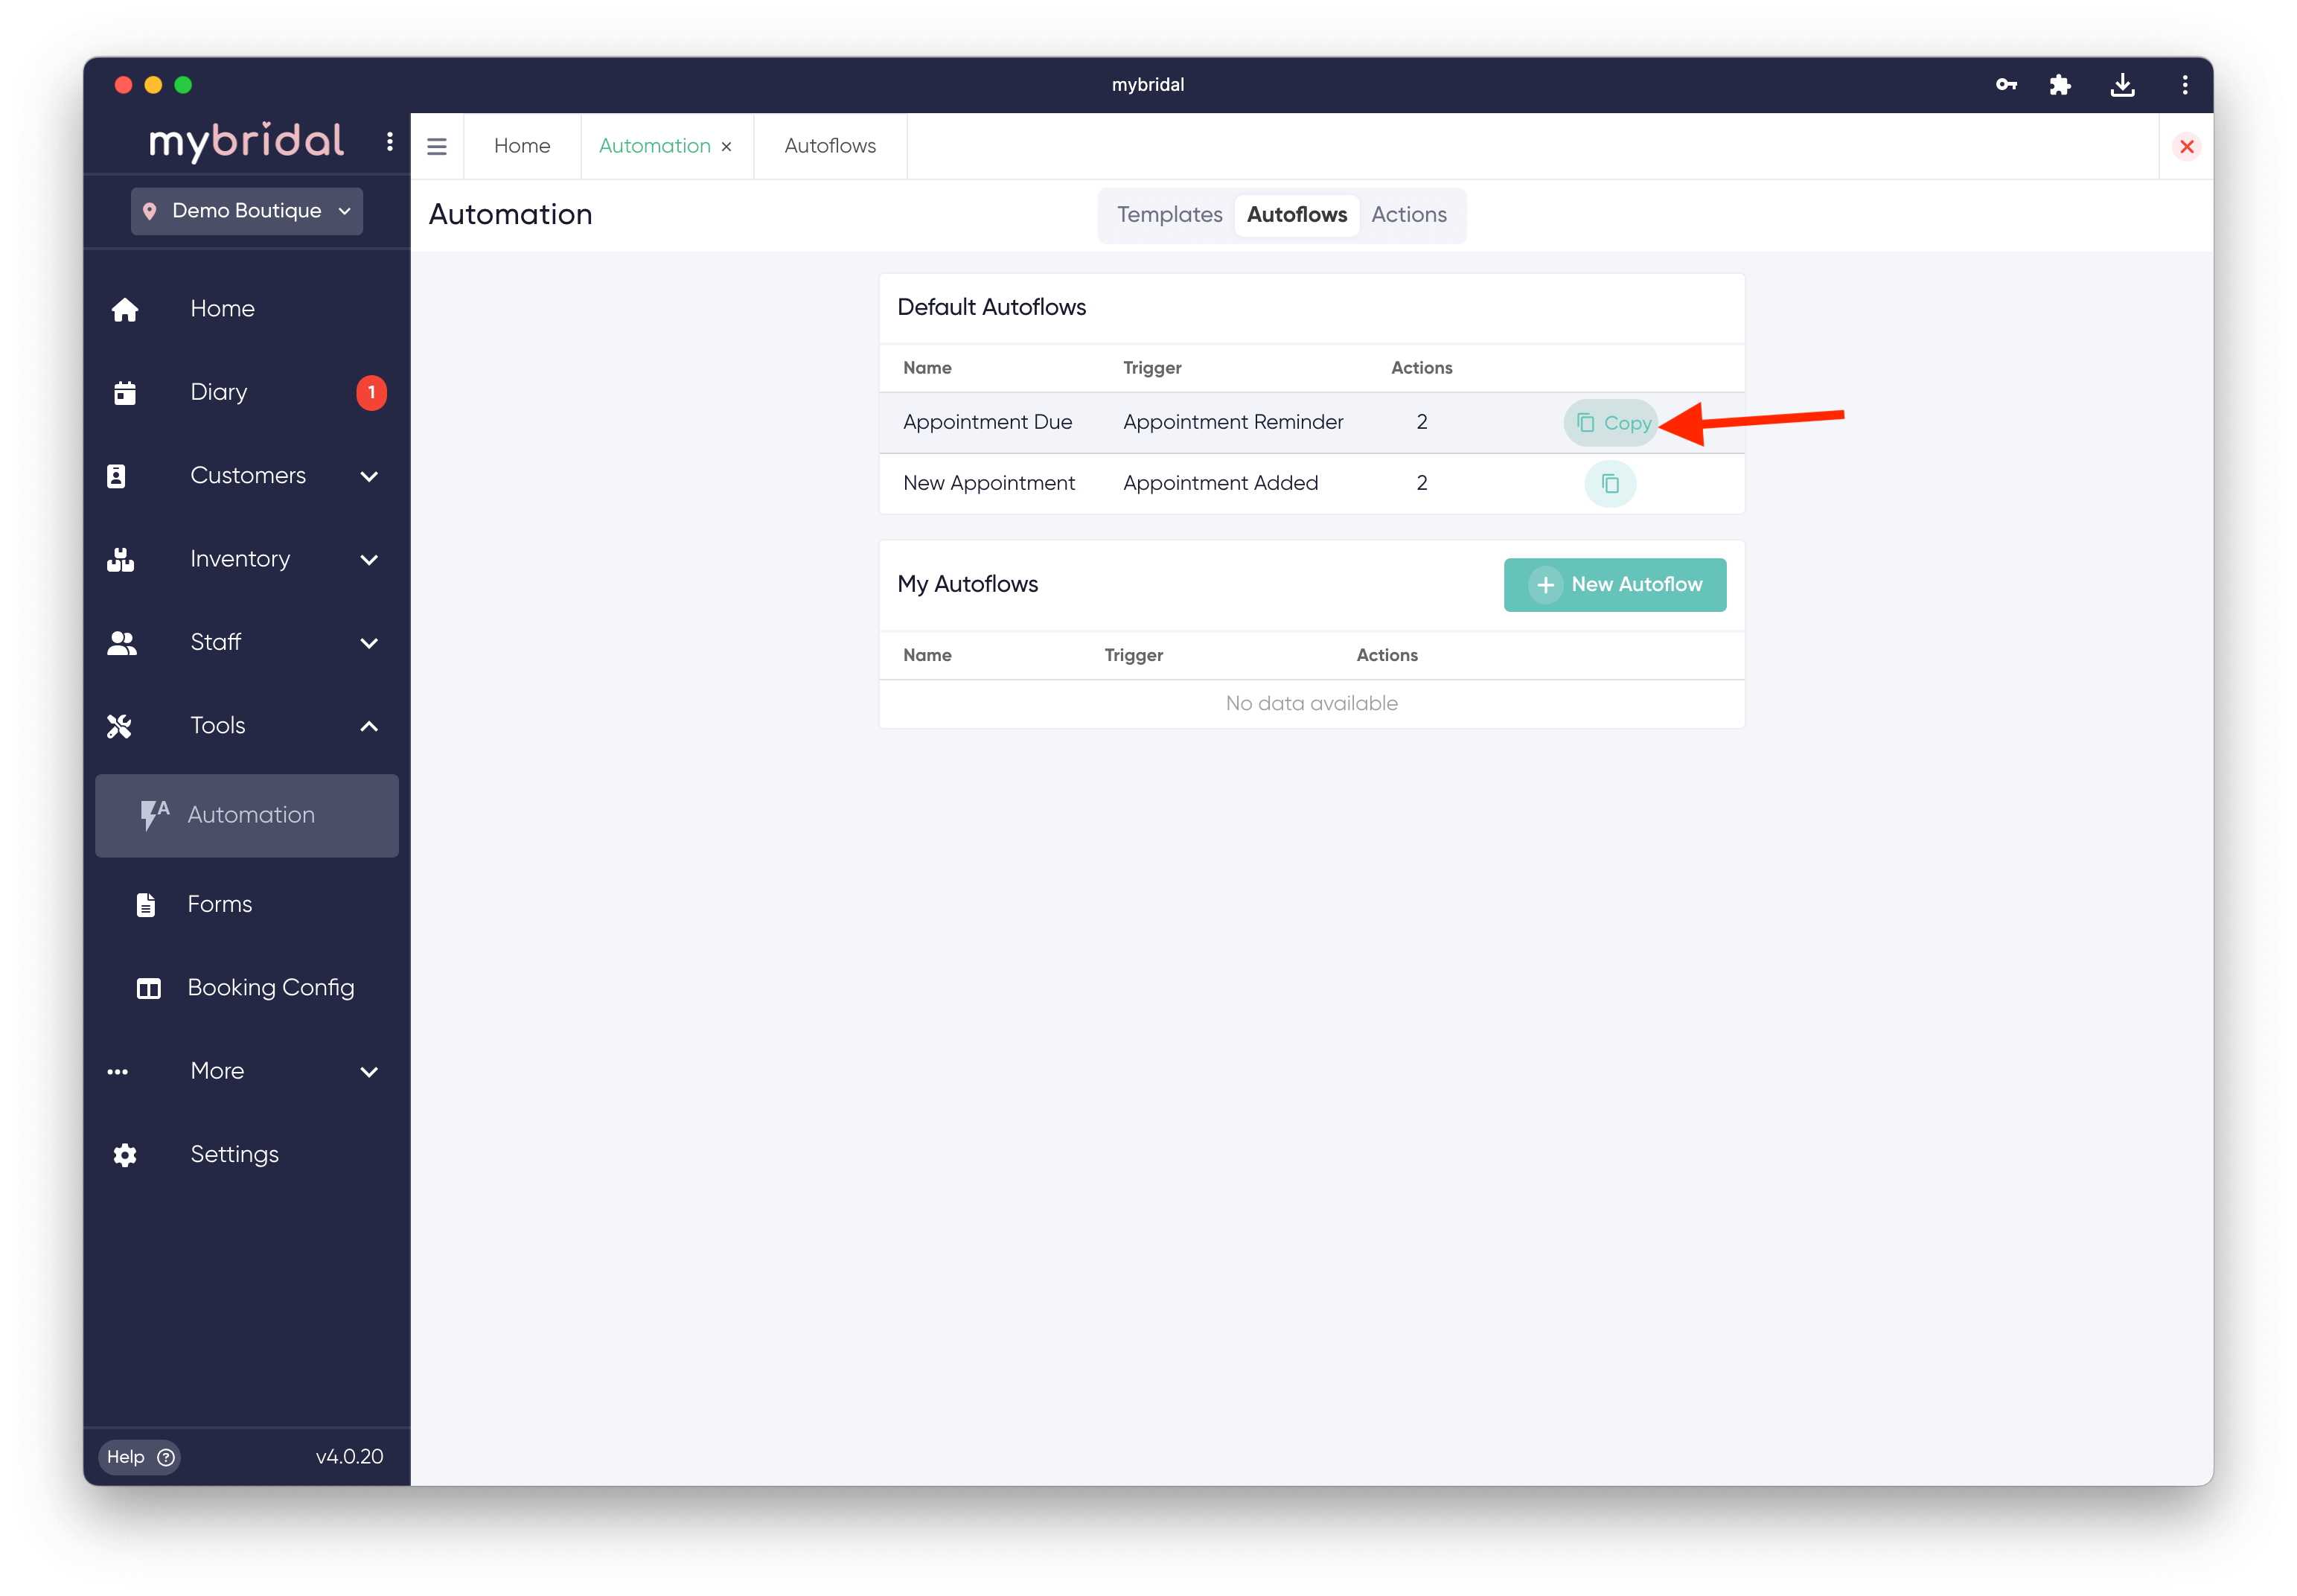
1. Choose whether you are happy with the default autoflows that have been created, or if you would like to create your own.
You can view the default autoflows by clicking on 'copy autoflow' which will open a copy of the default autoflow and allow you to view the settings. If you are happy with using the default as it is (including the default message templates attached), you just need to make sure it is 'active' and hit save in the top right corner.
If you would like to make changes you can either edit the autoflow you have open, or you can click back and press 'New Autoflow' to create a new one from scratch.
2. First of all you need to choose a name for your autoflow and then the trigger it relates to from the drop down menu. For examples of what each trigger should be used for please read the 'Introduction to Autoflows' guide.
Tip: Make your name clear so you know what autoflows this will refer too. For example appointment confirmation or wedding congratulations.
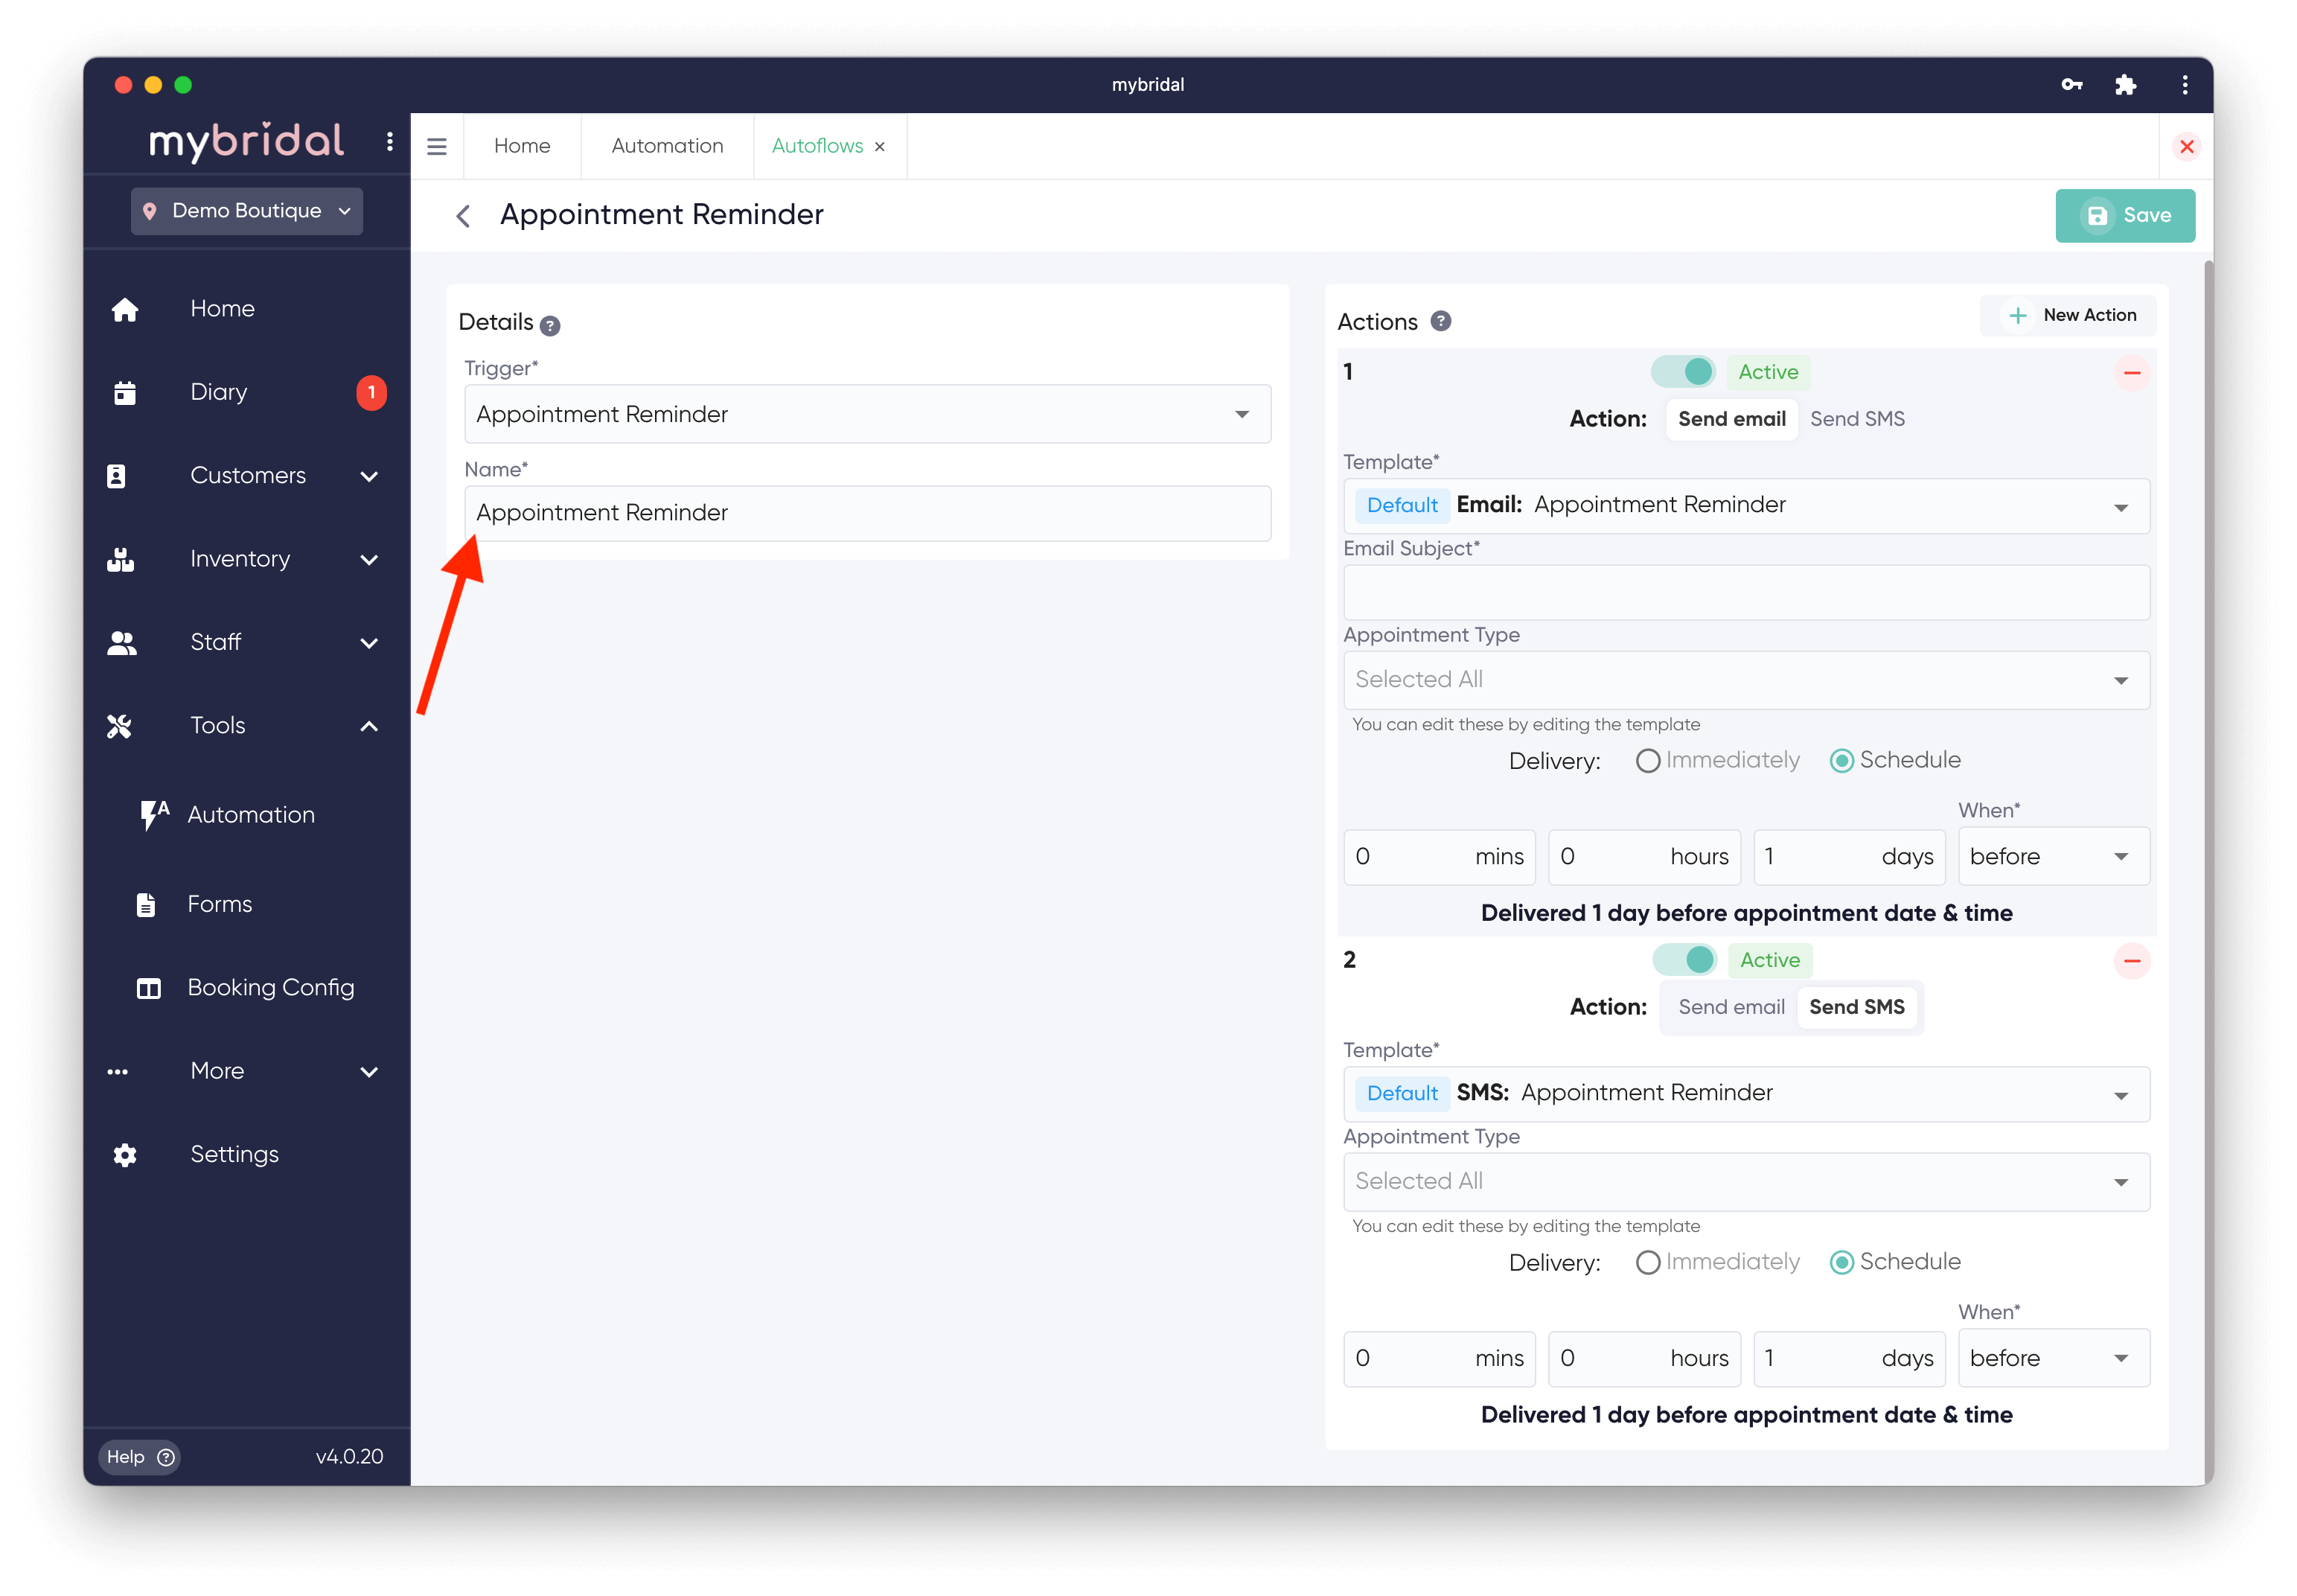
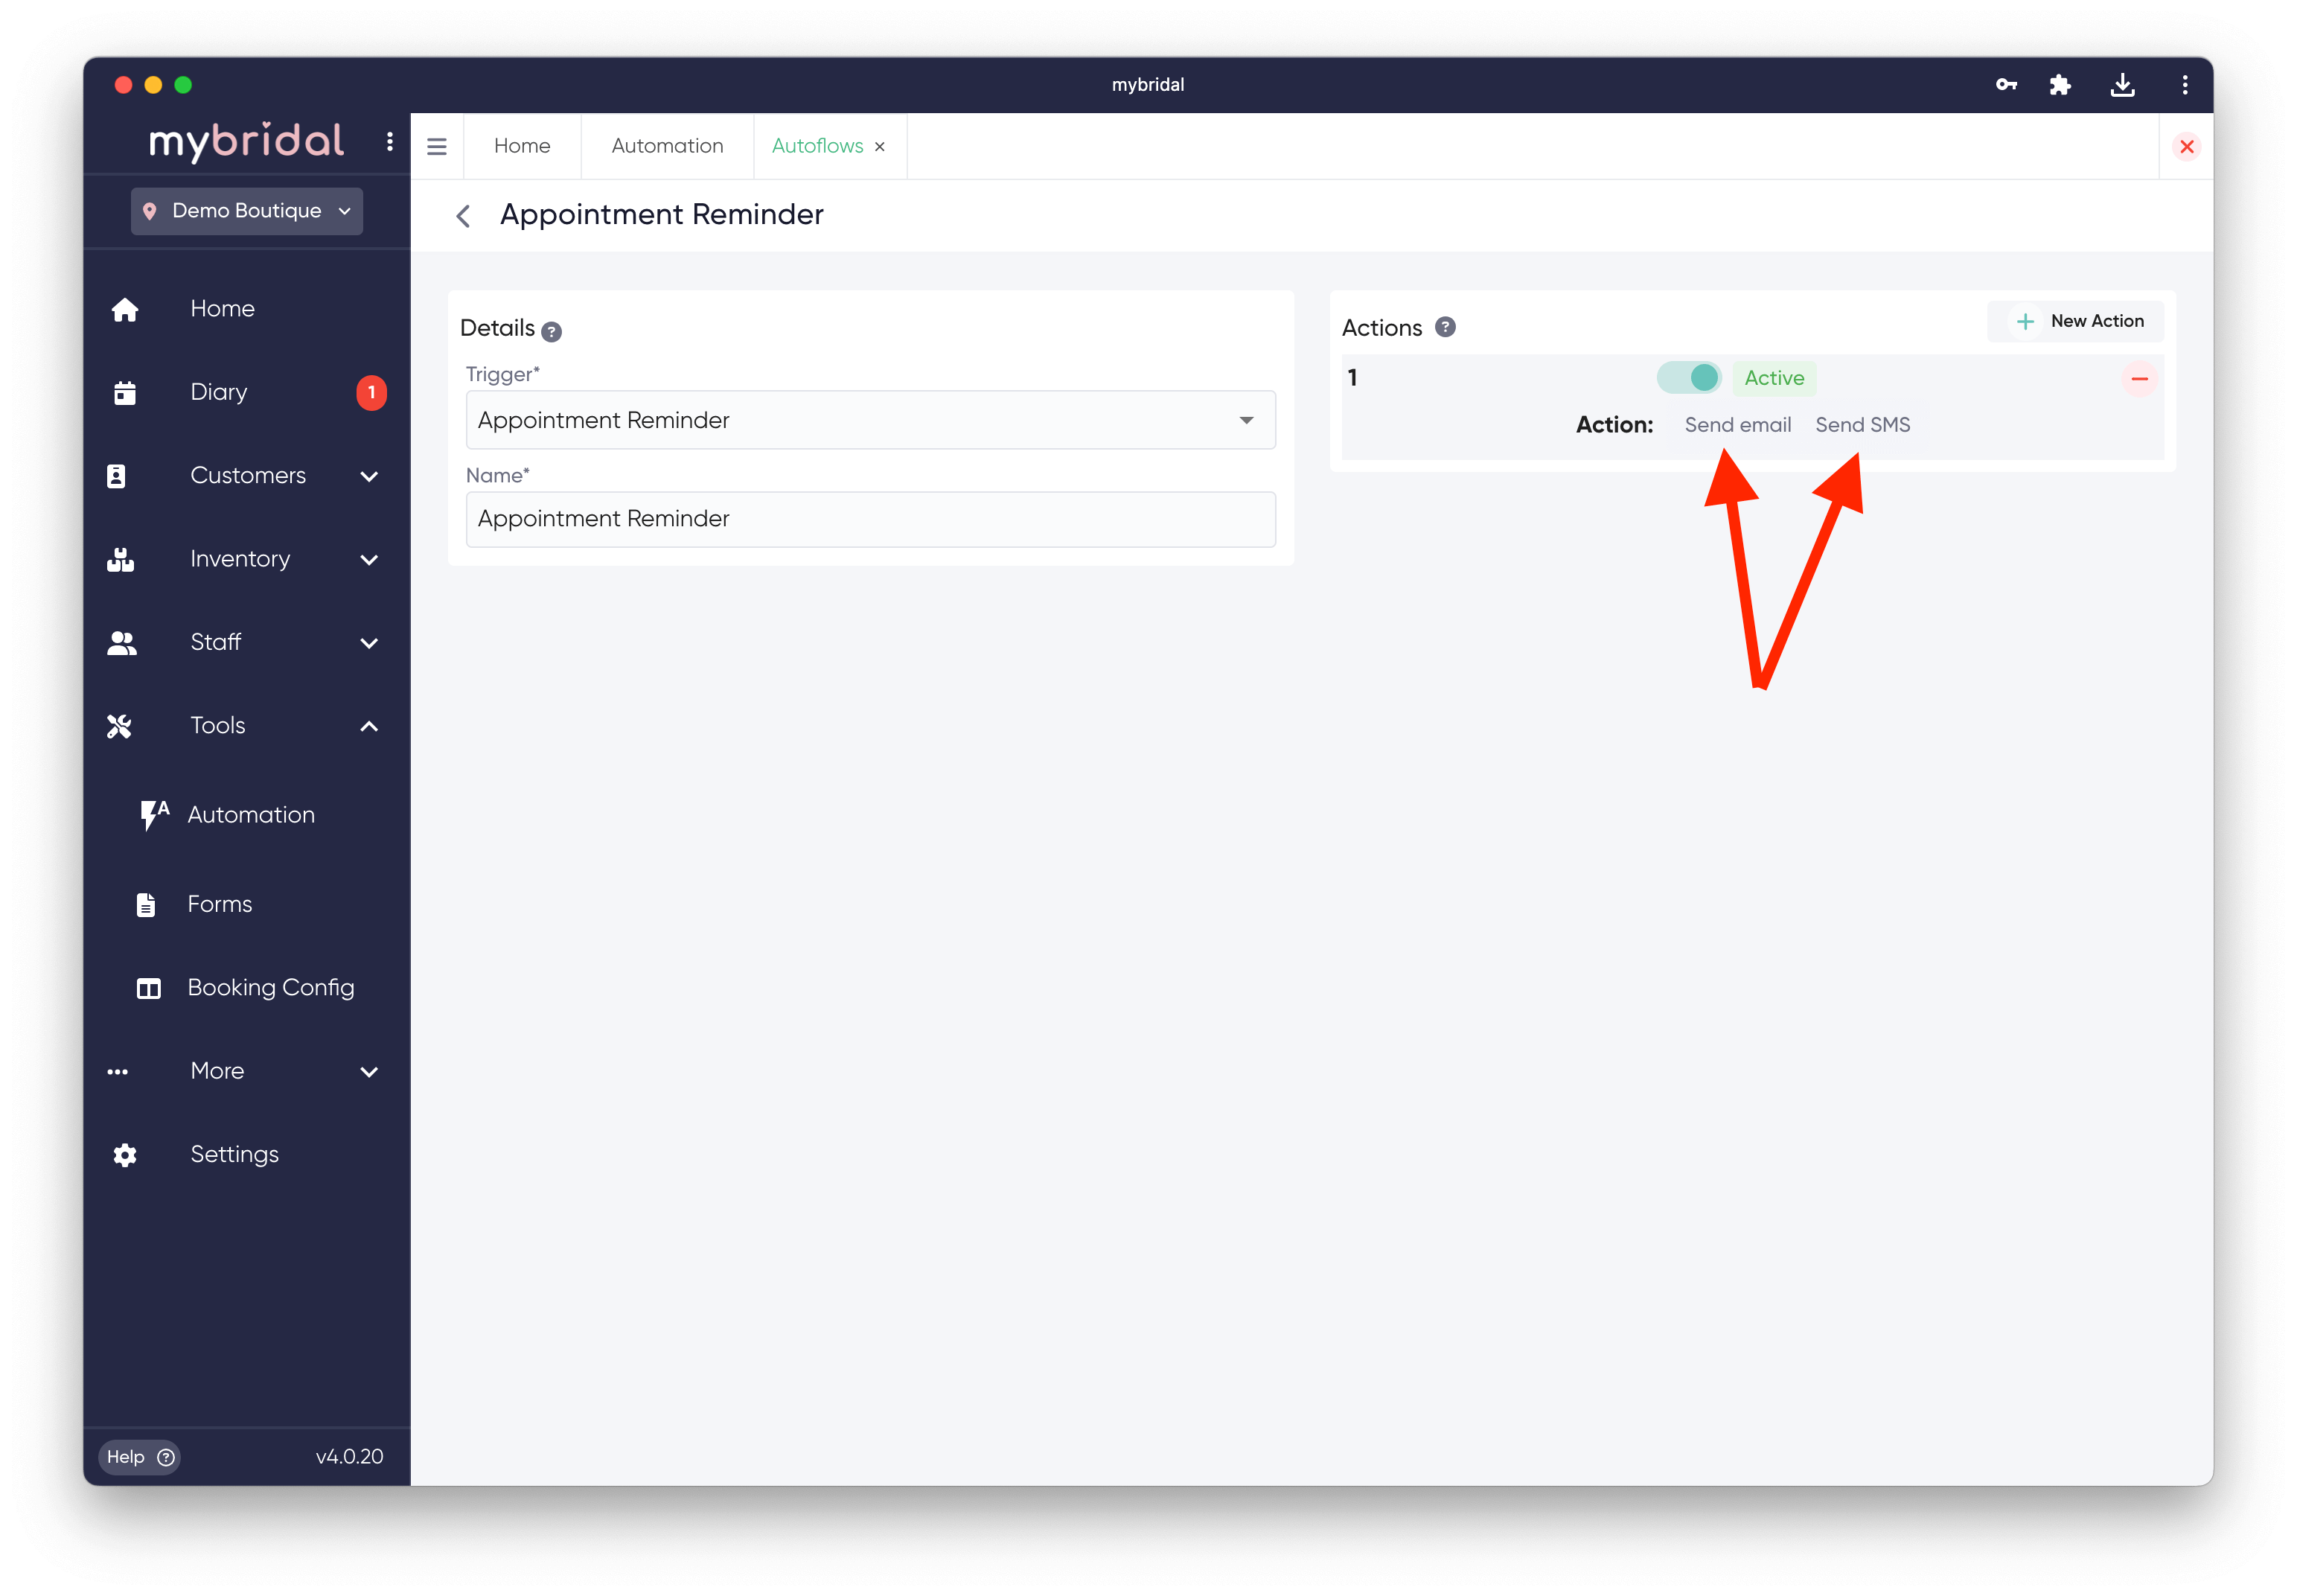
3. You then need to add any actions relating to that event. First choose if you want to set up an email or SMS. If you want both set up, you need to do them separately one after another. You can add as many actions as you like to each trigger. For example if you have 3 different appointment confirmation email templates to send (different templates for Bridal, Bridesmaid & Prom appointments) you can add 3 different actions to schedule them all.
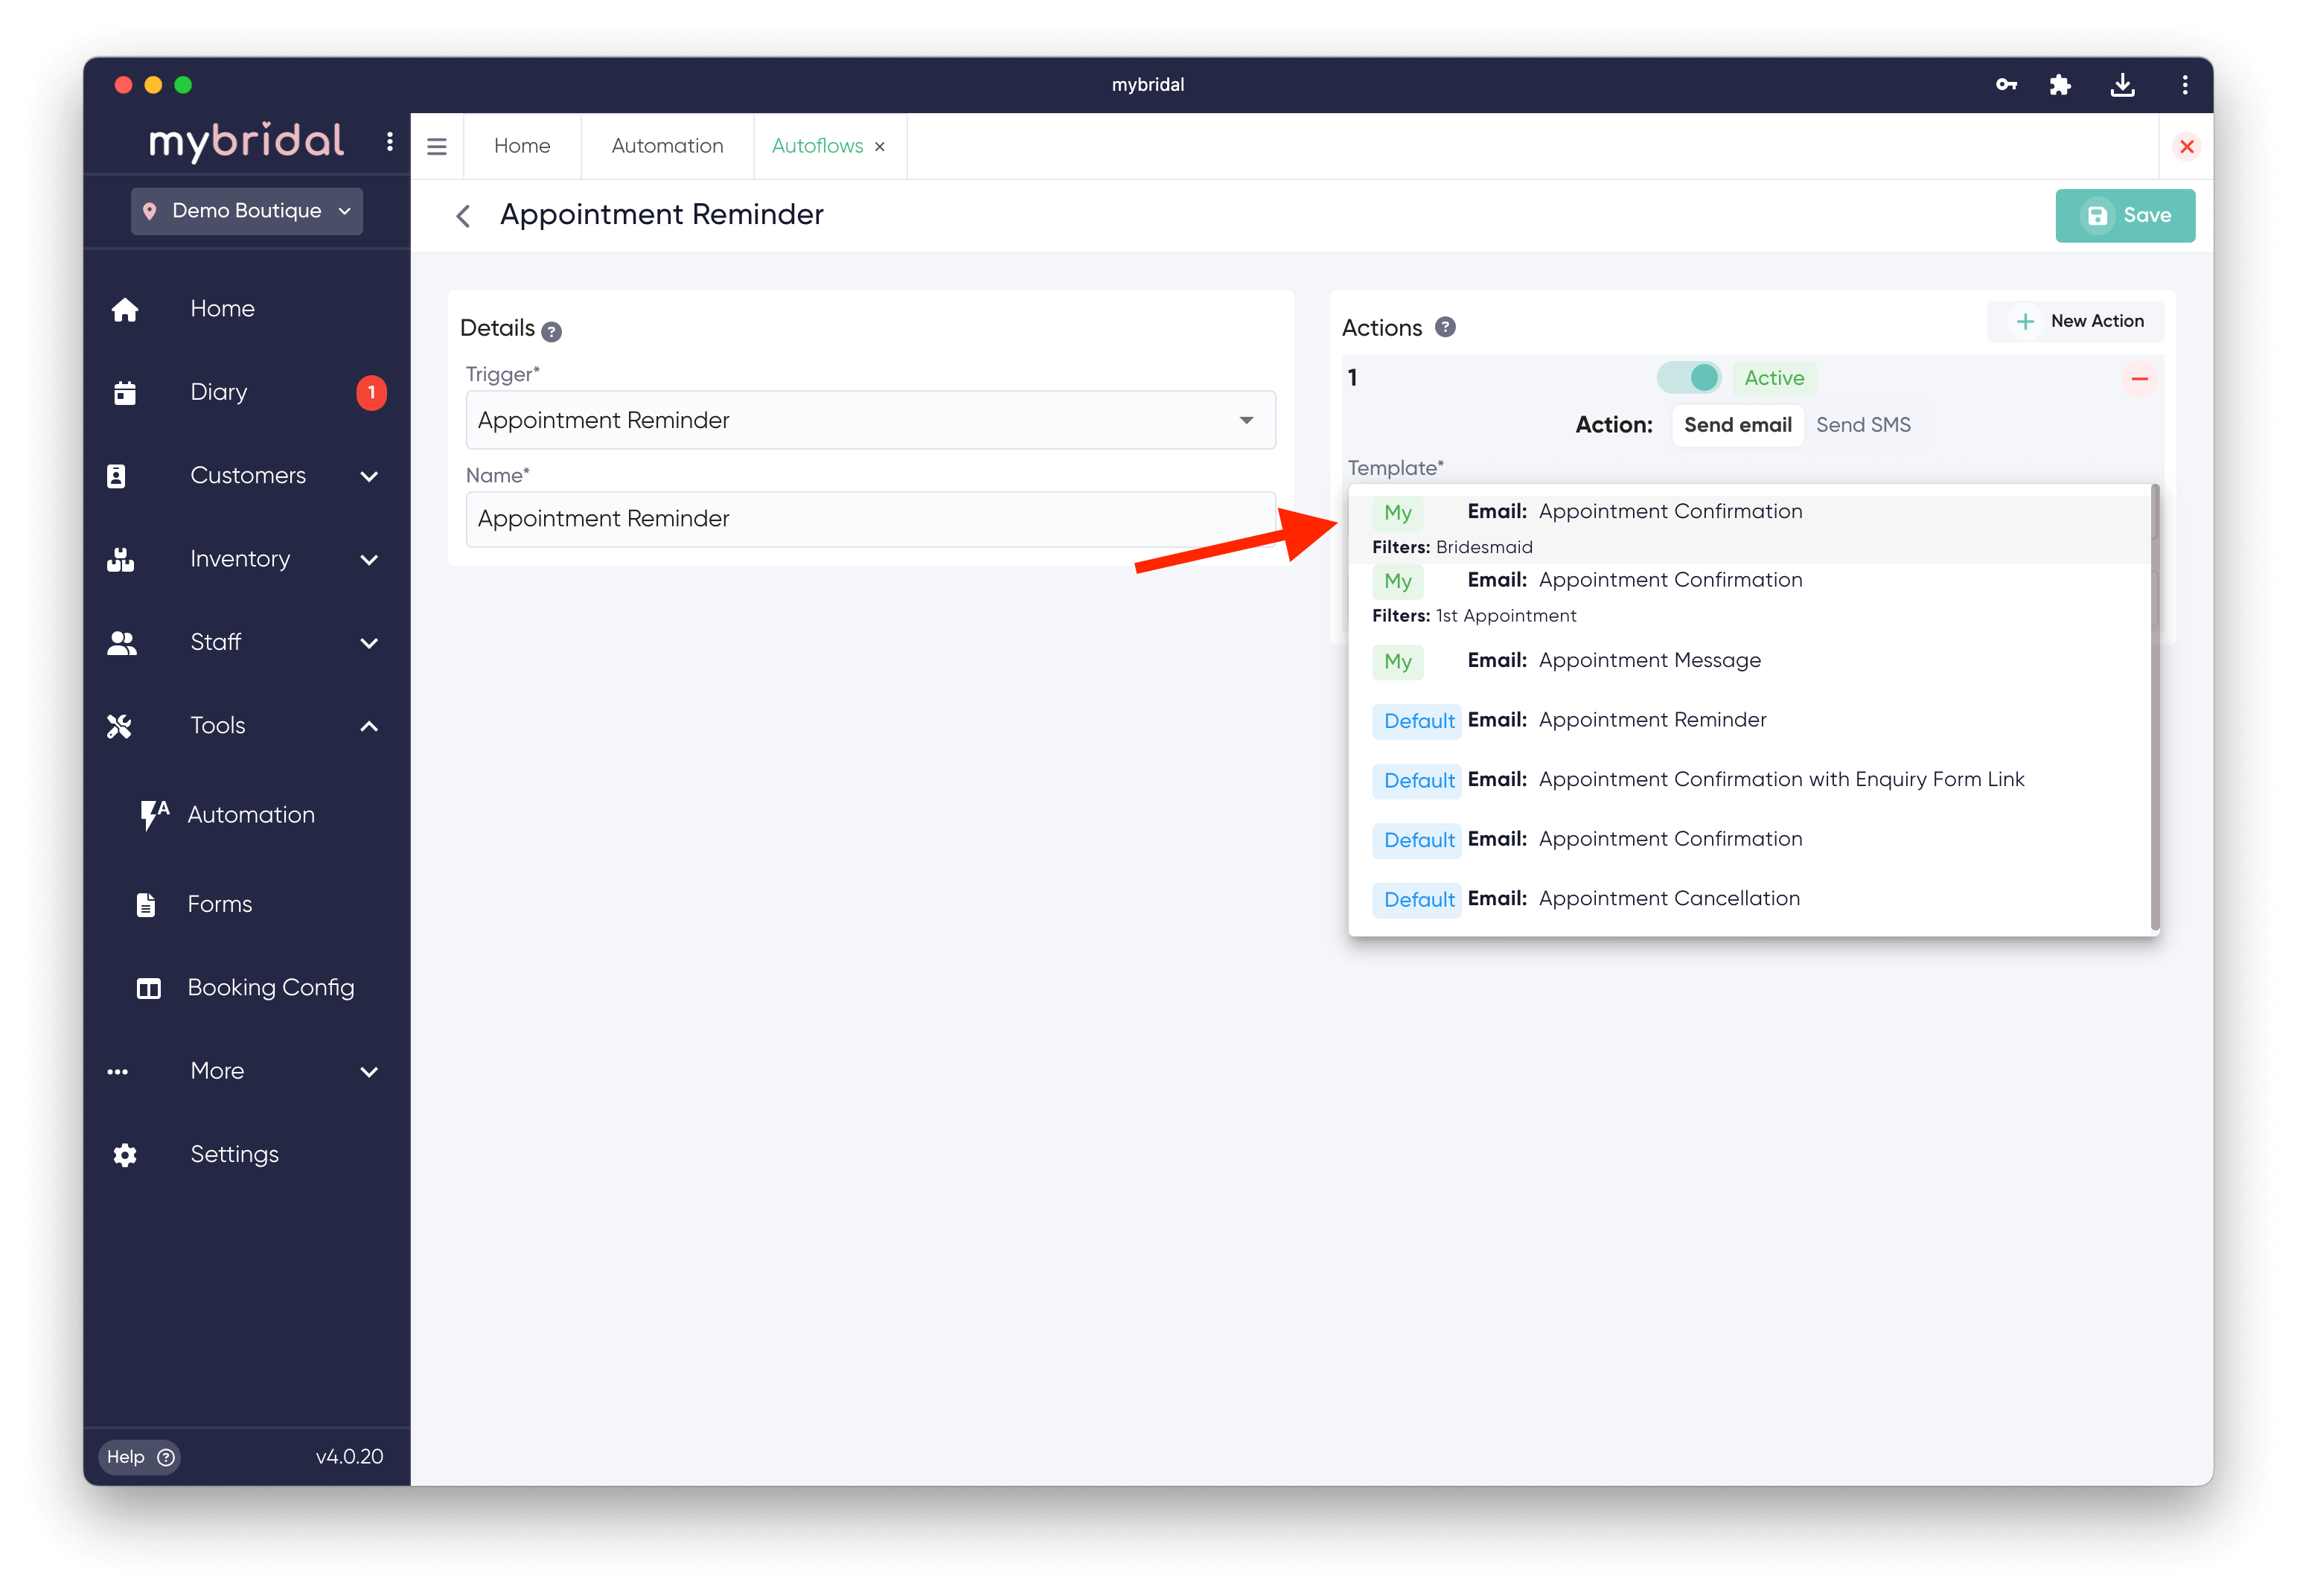
4. Choose which existing template you would like to send from the drop down menu, and chose the emails subject.
If you would like to create a new message template you can do this by returning to the automation tab > 'Templates' > New Template. You can read the 'Templates' guide for further details.
*Note* If you want this autoflow to only send to certain appointment types (for example one message for a first bridal appointment, and a different message to be sent for a fitting), then you need to set this on the template, not on the autoflow. The autoflow will just show the appointment types the template applies too.
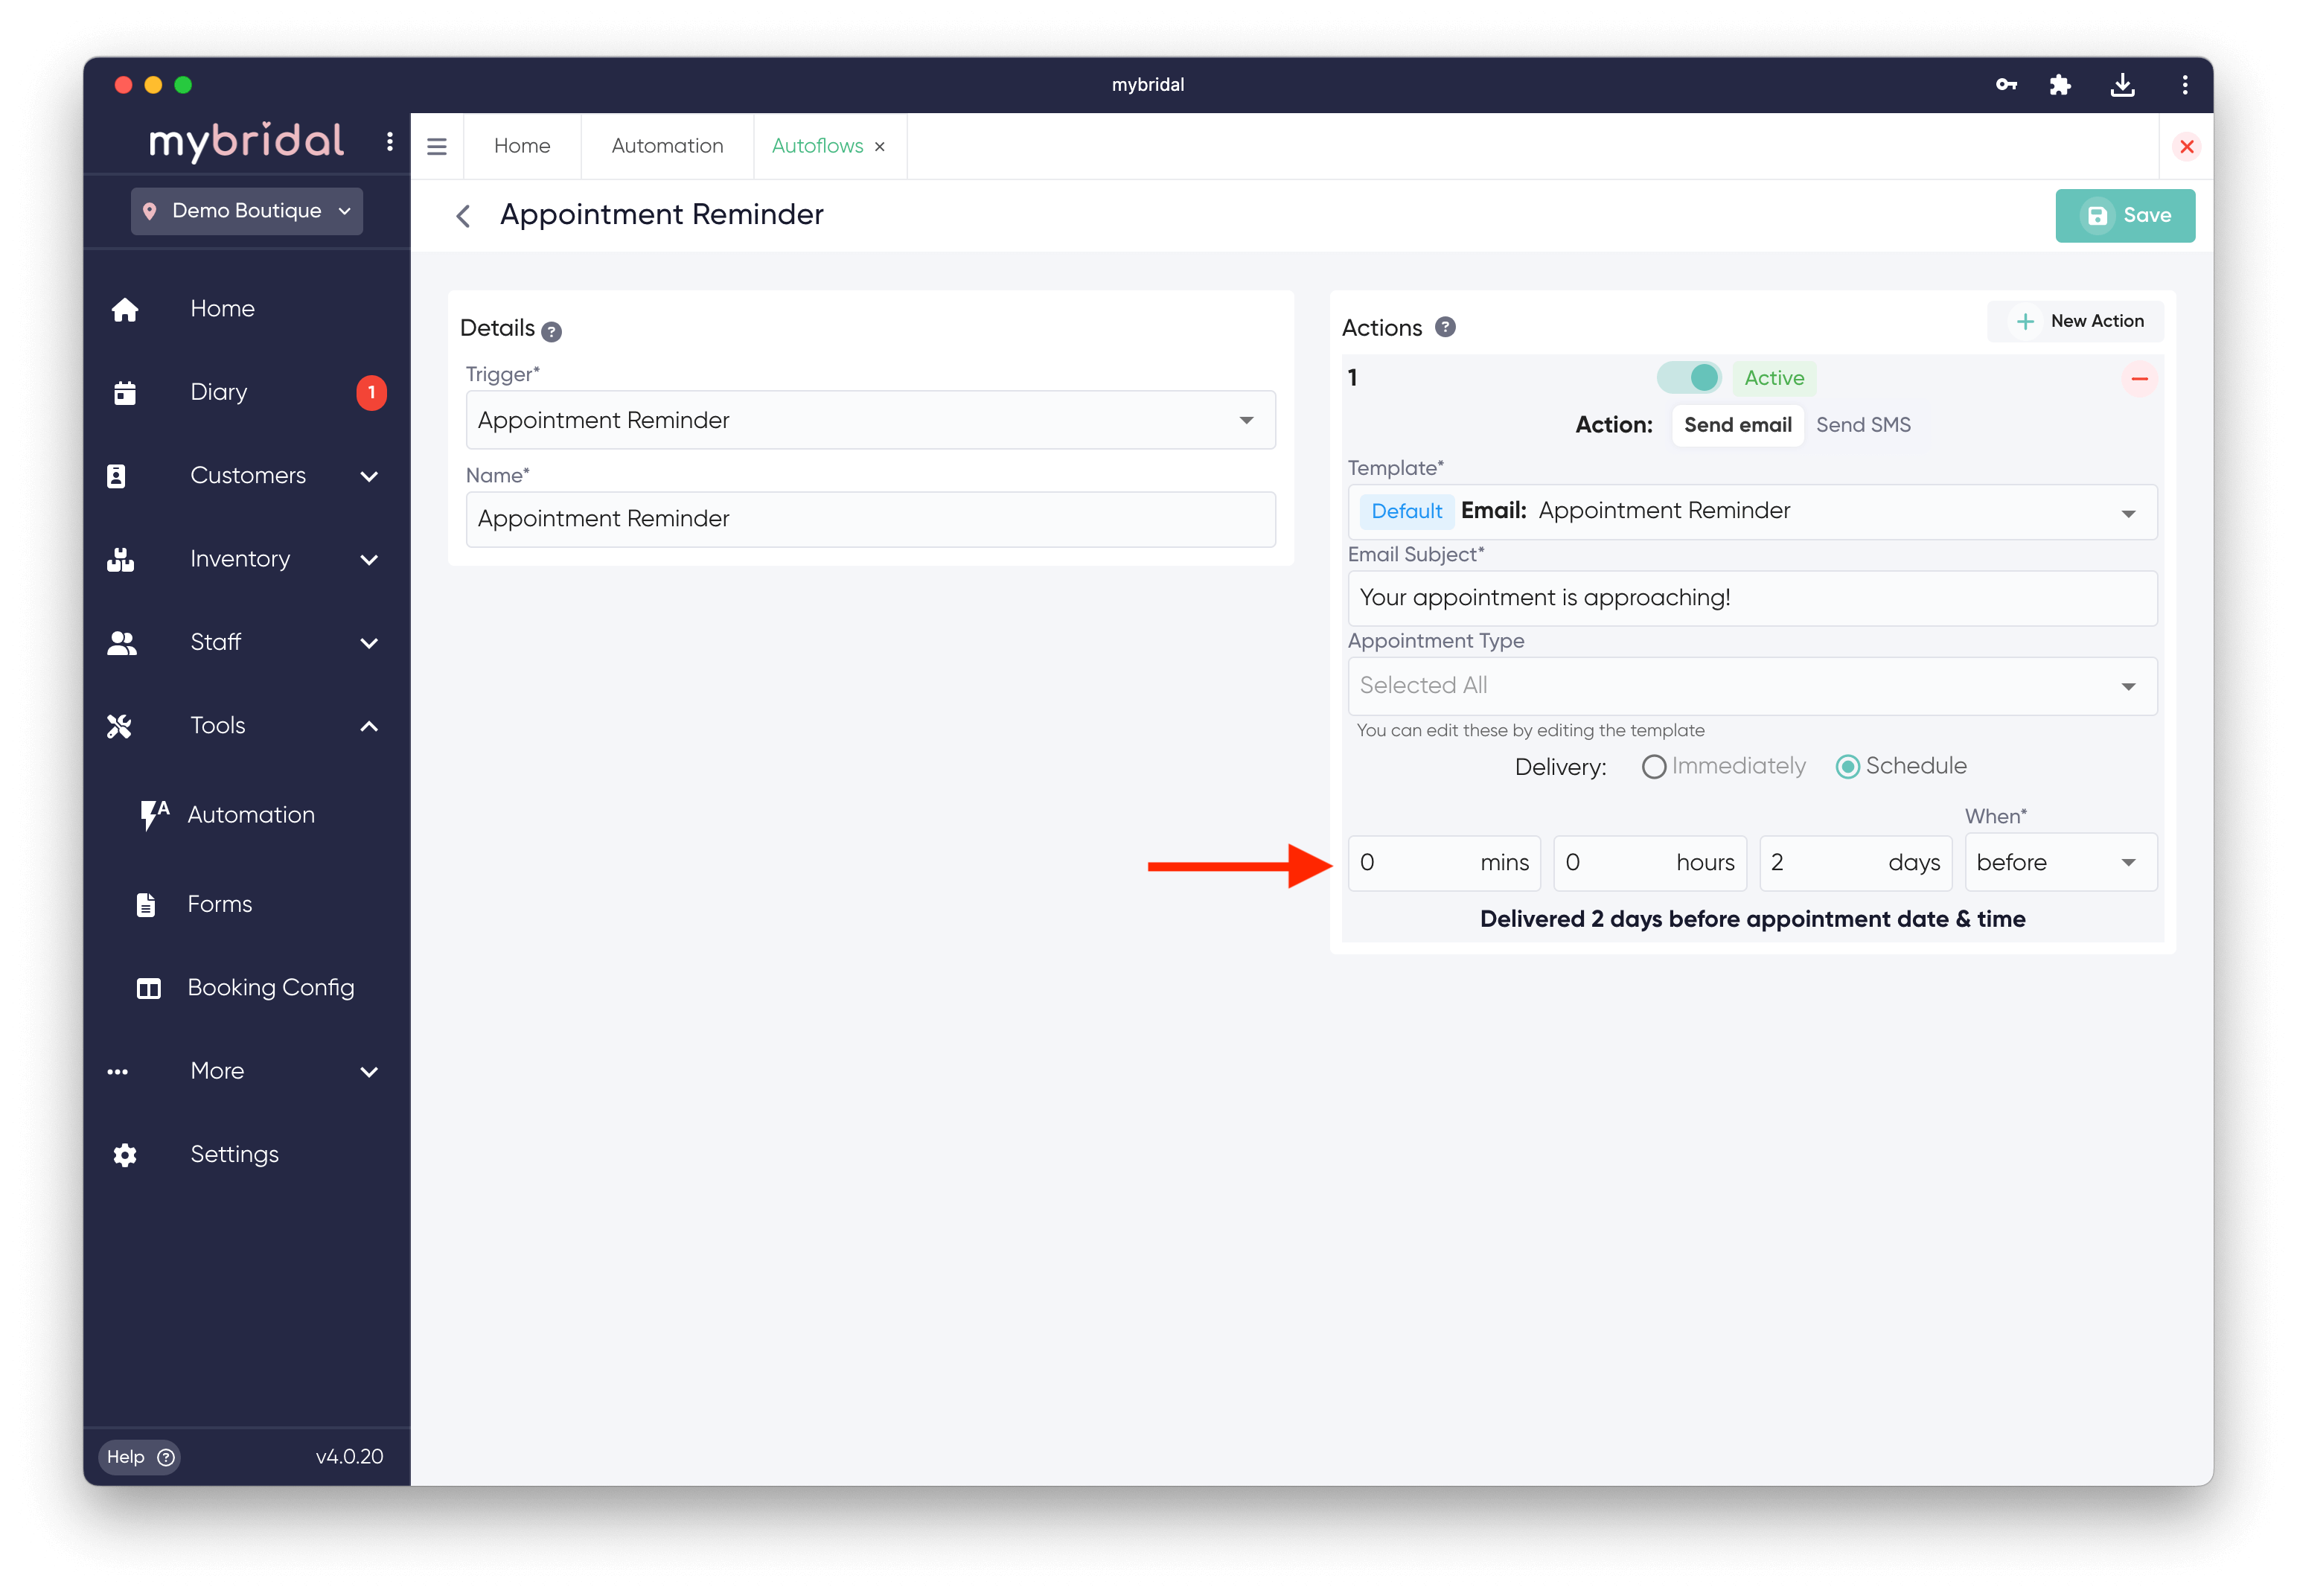
5. Choose when you would like the message delivered.
For most triggers you can choose whether you want to schedule the message to send immediately, or at a certain period of time before or after the triggering event.
For Appointment Reminder, and Customer Weddings, you can only select 'schedule' as these are events happening at a set time future. You can also set an exact time for the message to send on a wedding morning.
Tip: If you want to change the 'before / after' make sure you type in a number first. For example if you want a message to send 2 days before an appointment, type a '2' in the days box before trying to change the when to before.
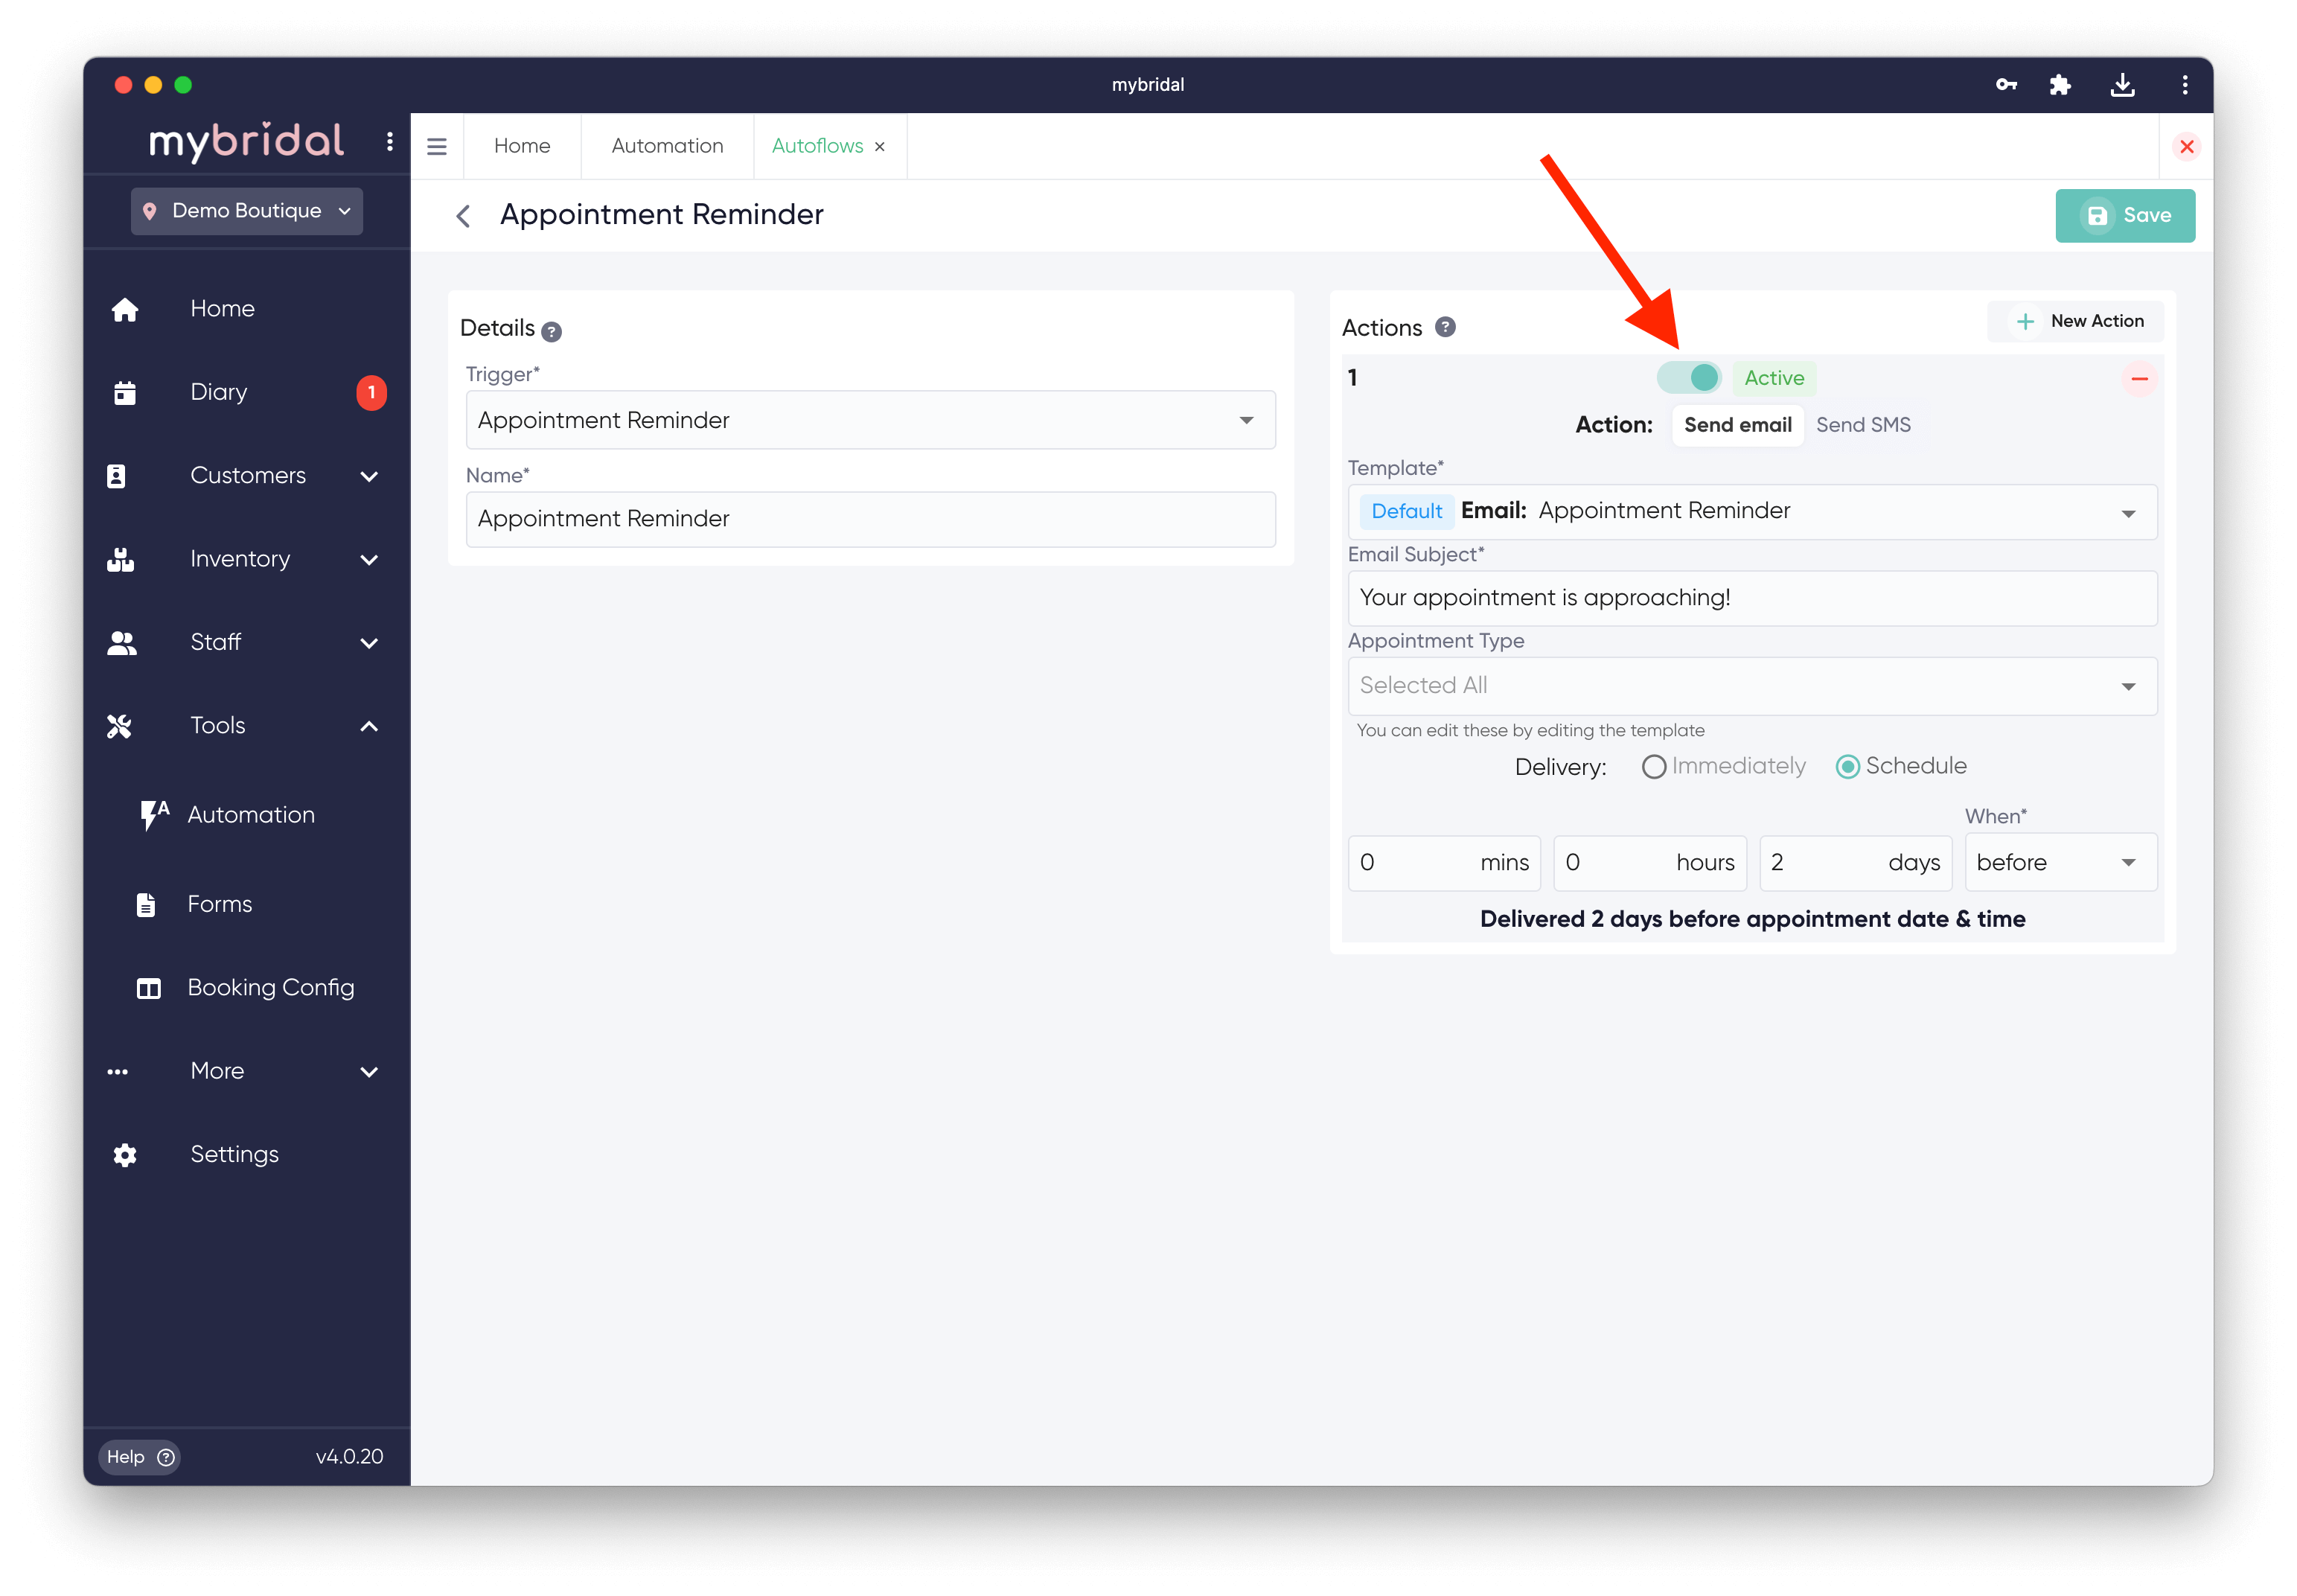
6. You can toggle between inactive and active. Active means the autoflow will be automatically selected when a triggering event happens. Inactive means it will not be preselected (although you can manually select it still if you wish).
*Note* If you use our online booking system for customers to book appointments through your website and have it set up so appointments are automatically added to your diary, then any active autoflows related to the appointment will automatically send when a customer books an appointment. For example if you have an appointment confirmation autoflow active that sends immediately and a bride goes onto your website and books an appointment for Saturday at 12pm, then as soon as they complete the booking they will receive the appointment confirmation email confirming their booking for Saturday at 12pm.
7. If you are happy with the one action you have added click 'Save' and your autoflow will be created! If you would like to create another action for the same trigger, for example to create a SMS autoflow in addition to email, or a repeat of the email you have just set up to send a different template for a different appointment type, you can click the '+ New Action' button and repeat the above process. When you are happy you have created all the actions you need for that trigger hit 'Save' in the top right.
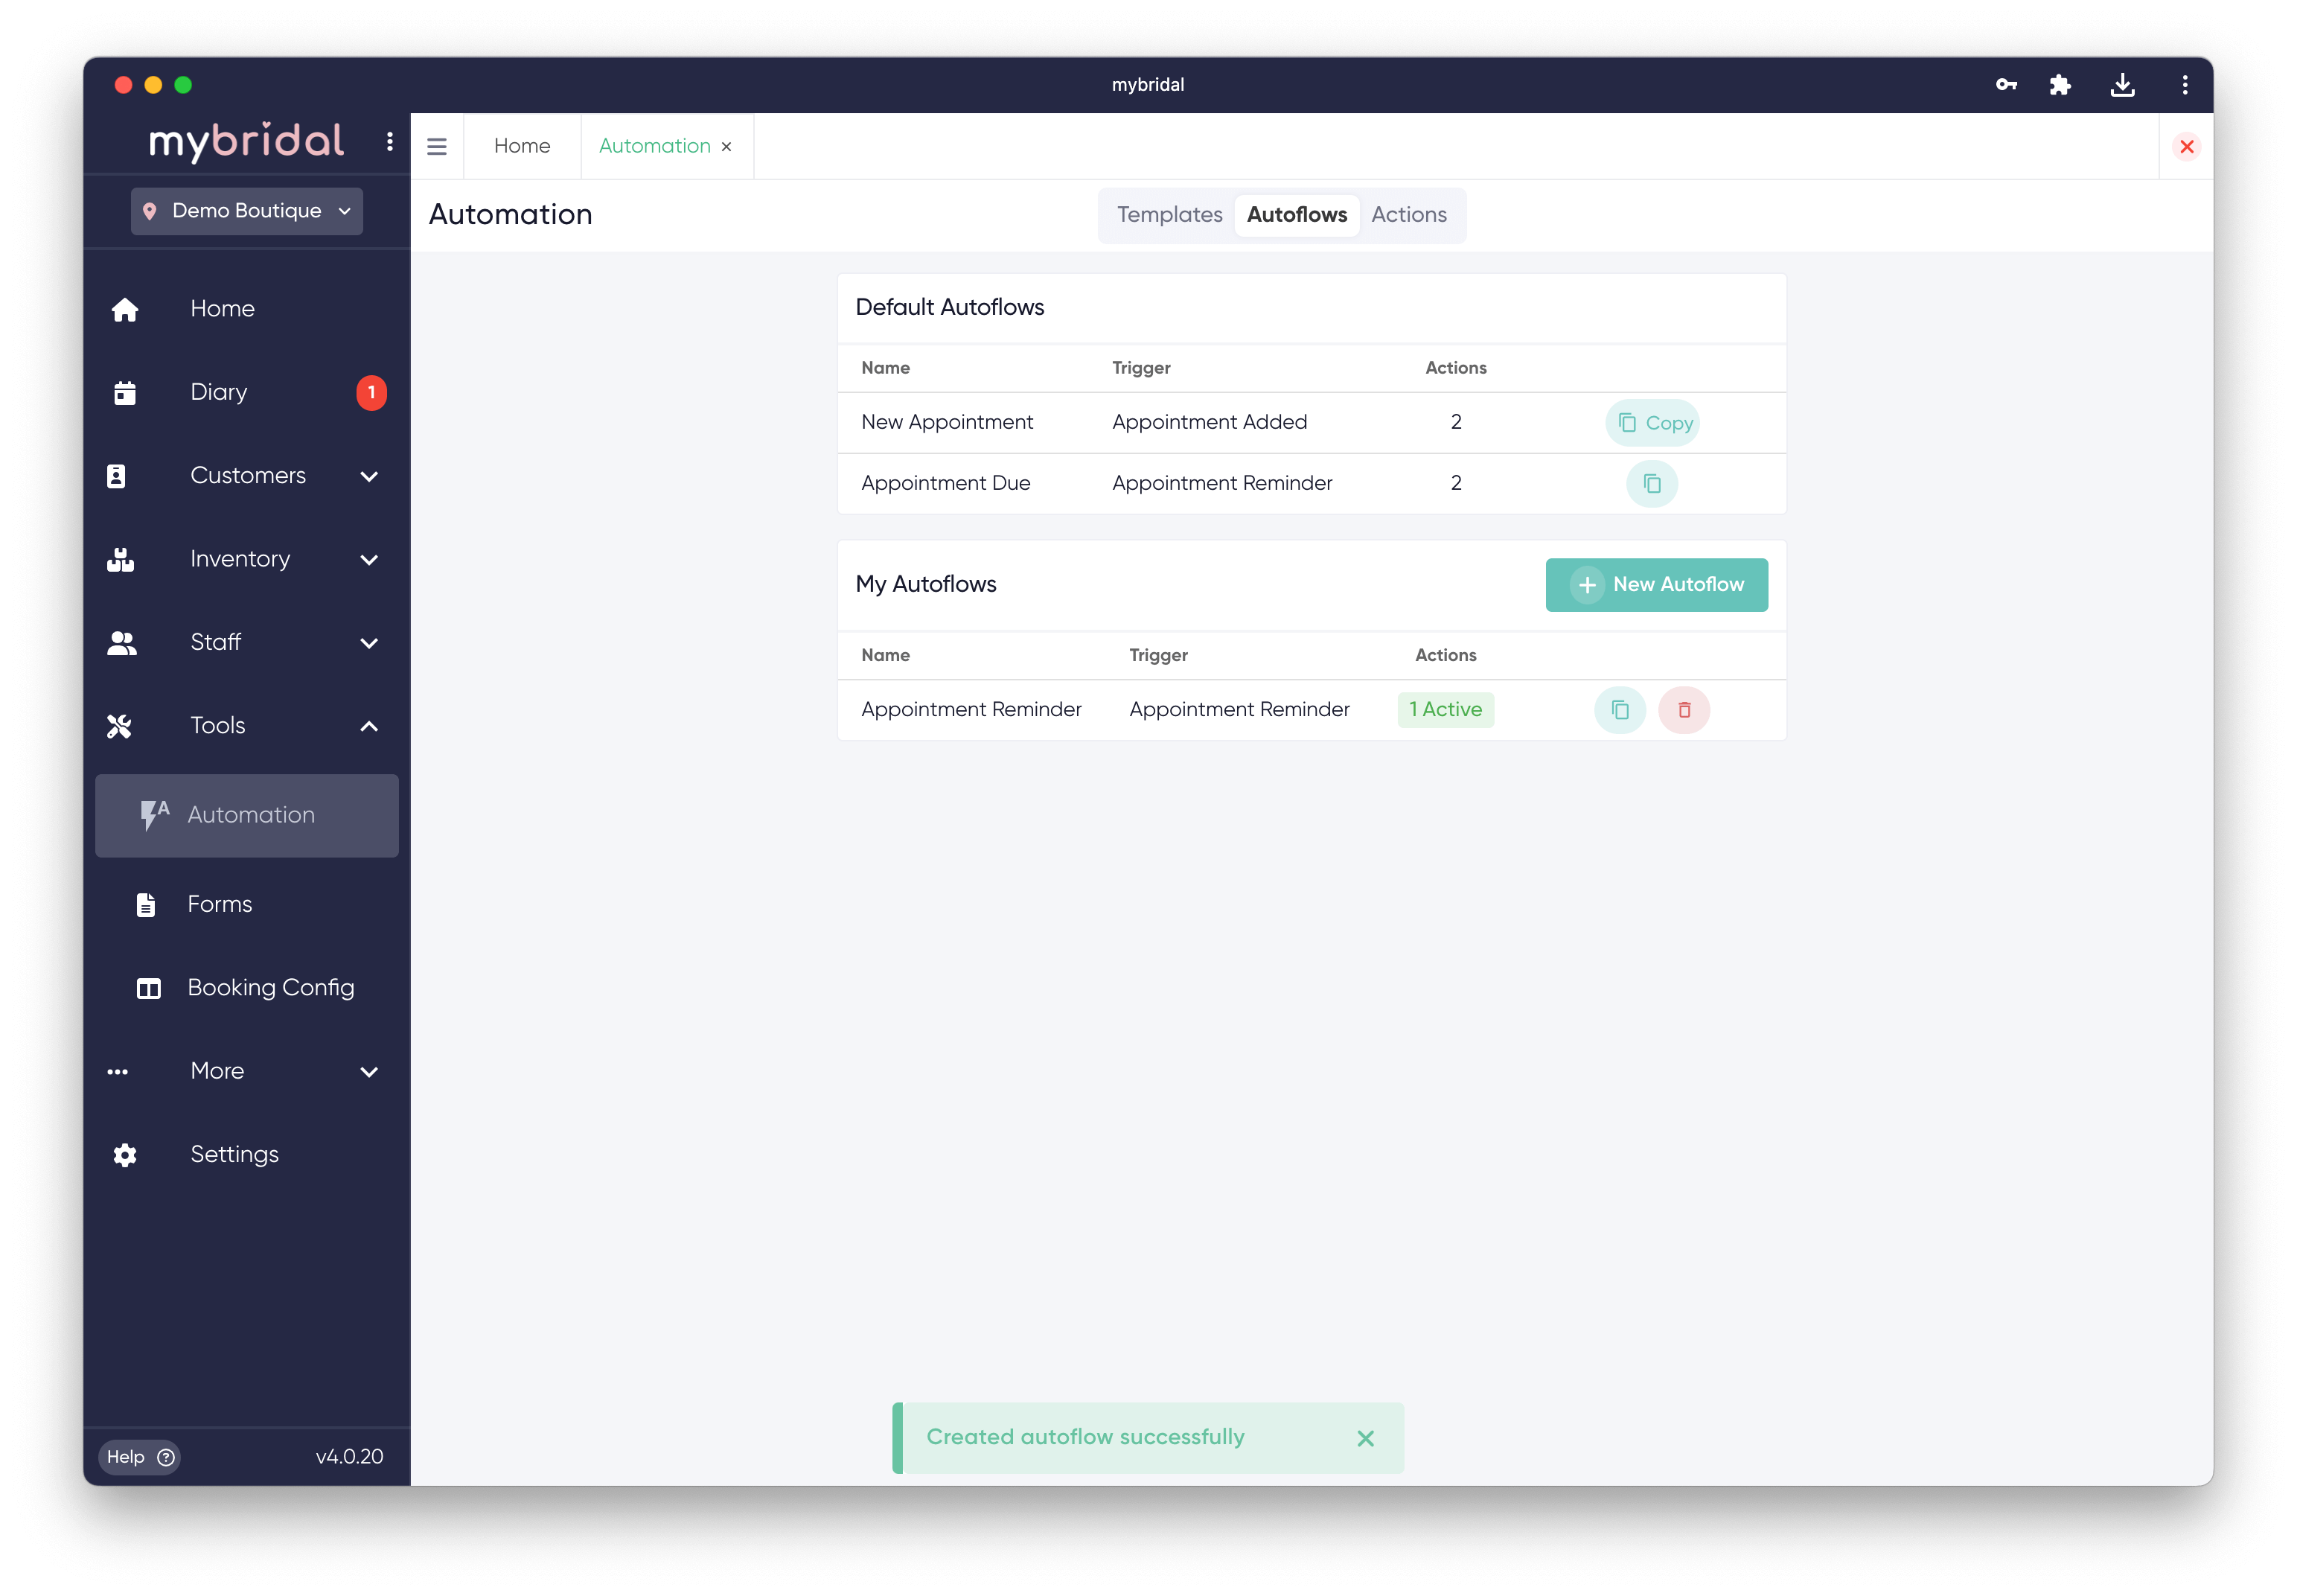
You will now be able to see your autoflow in 'My Autoflows'. It will also be offered to you as an option whenever you see the Autoflow Pop Up. For more information on using autoflows please read the 'Using Autoflows' guide.