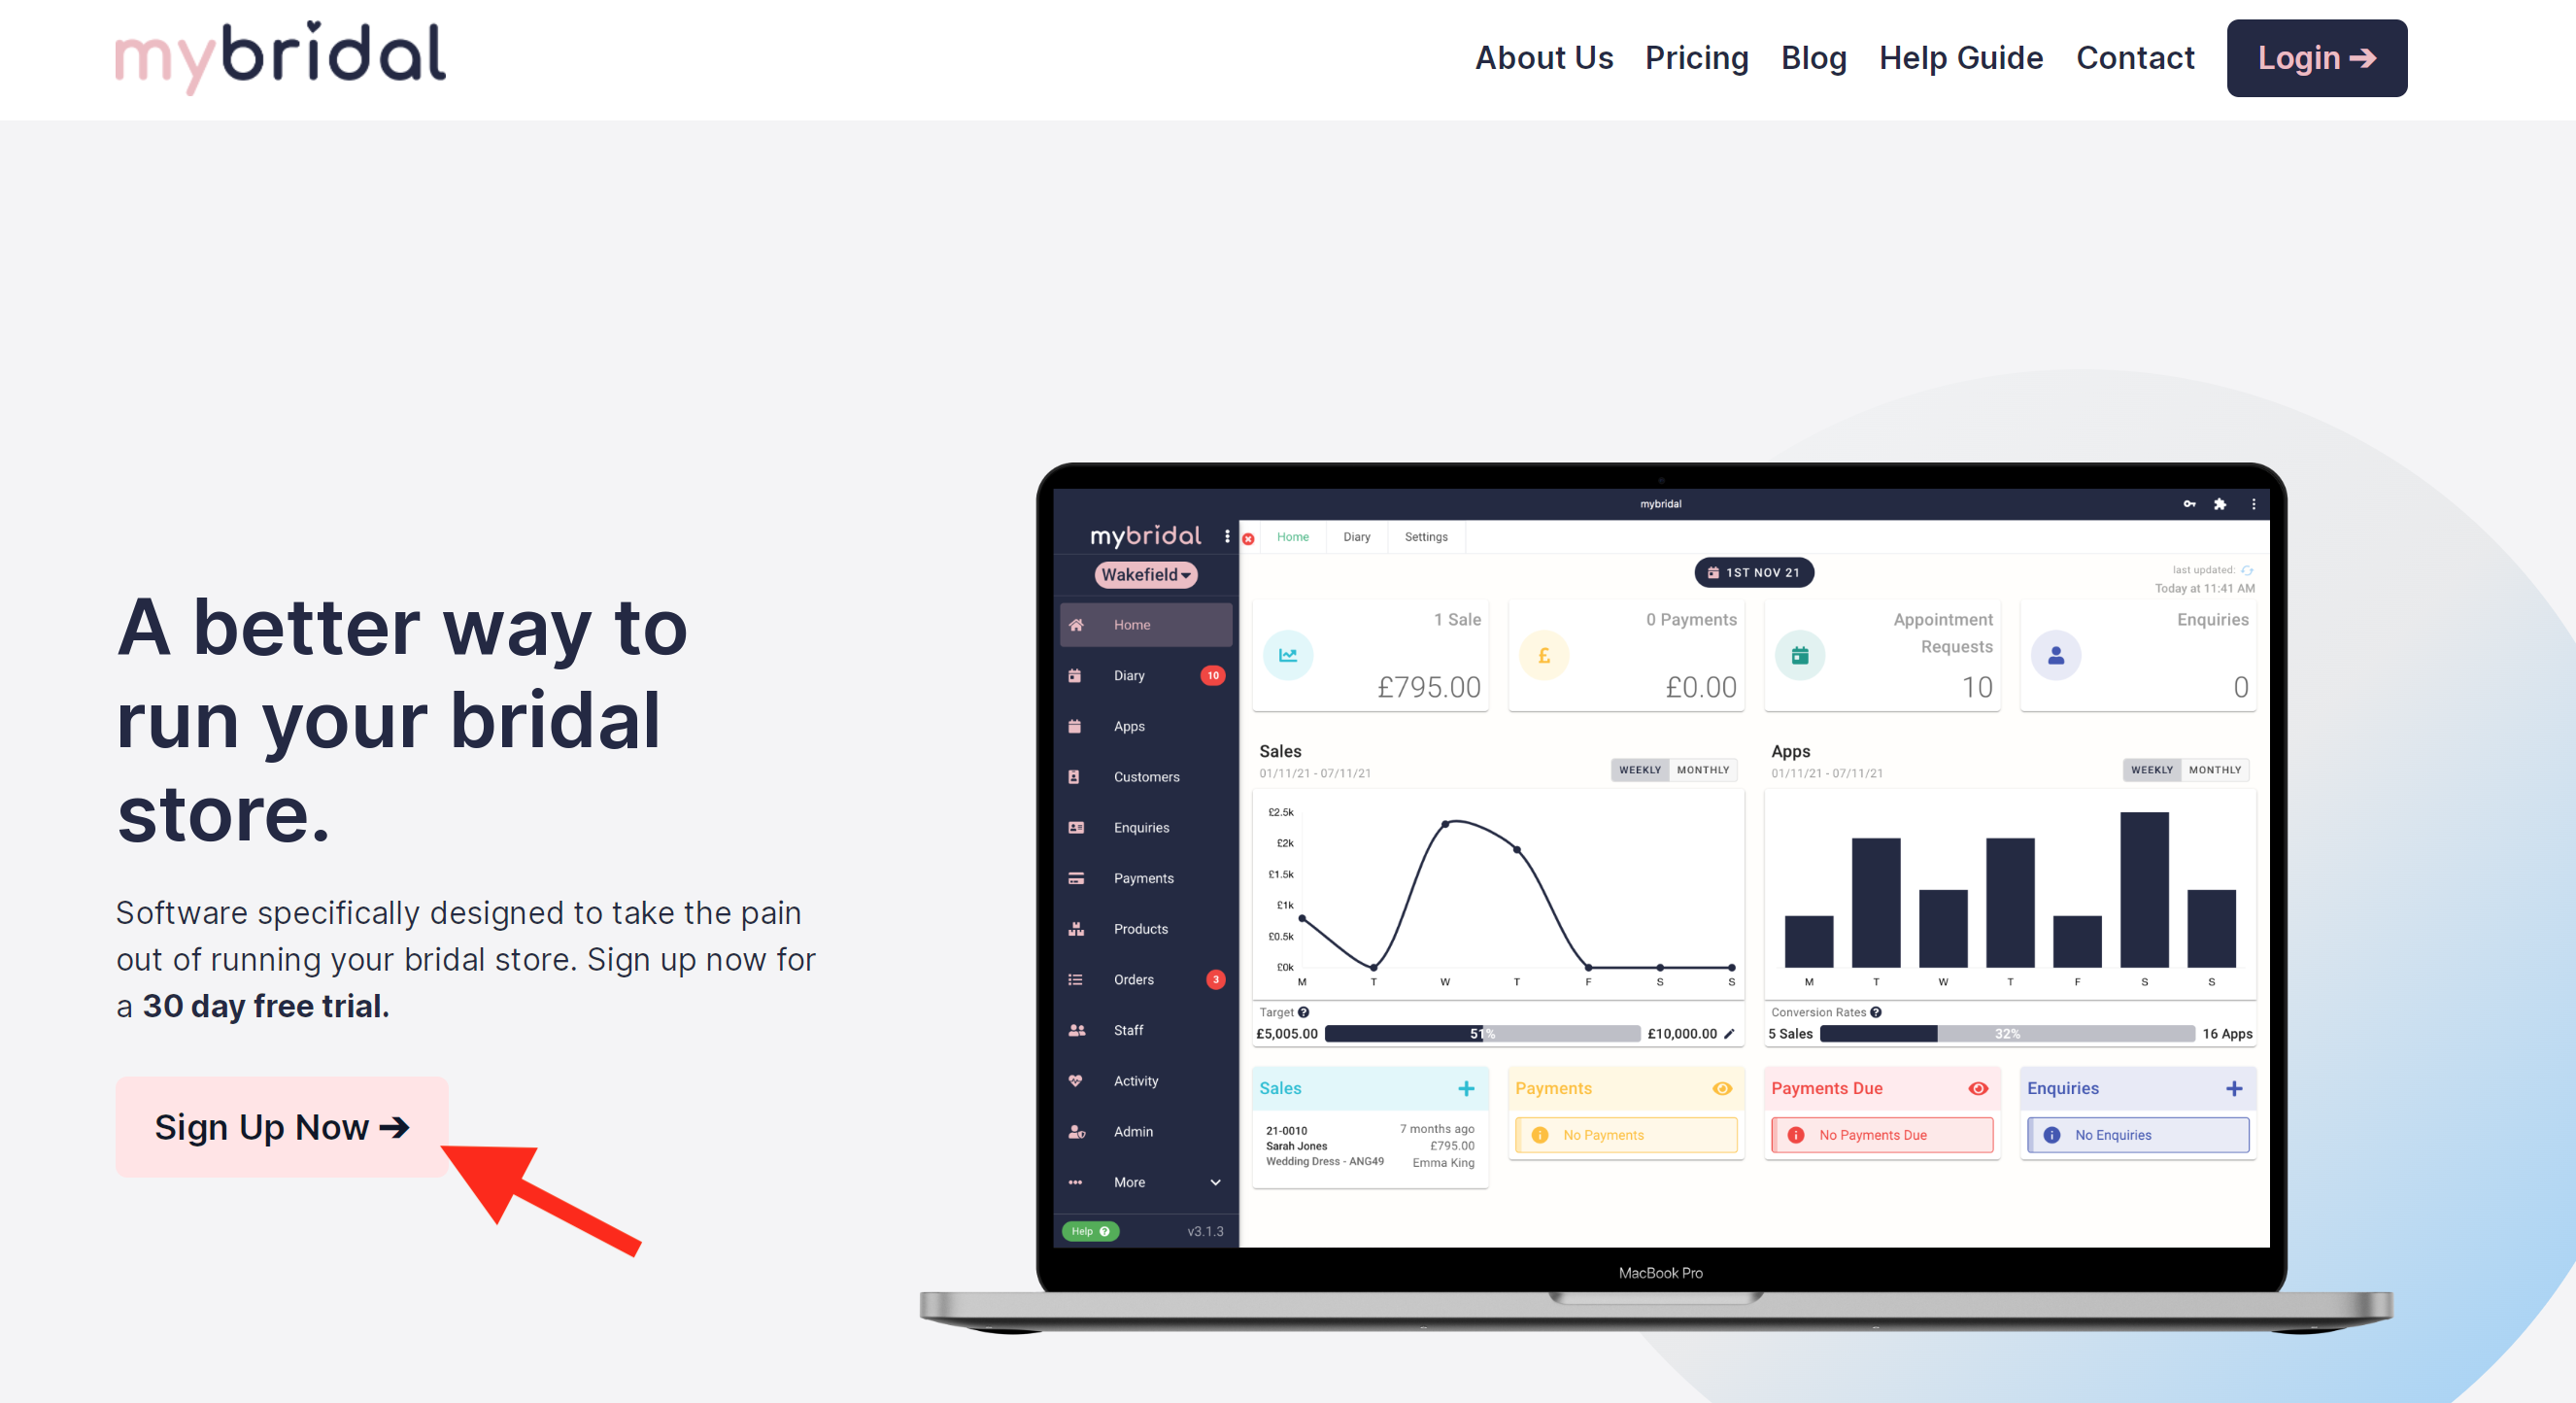
1. Click 'sign up' on our website.
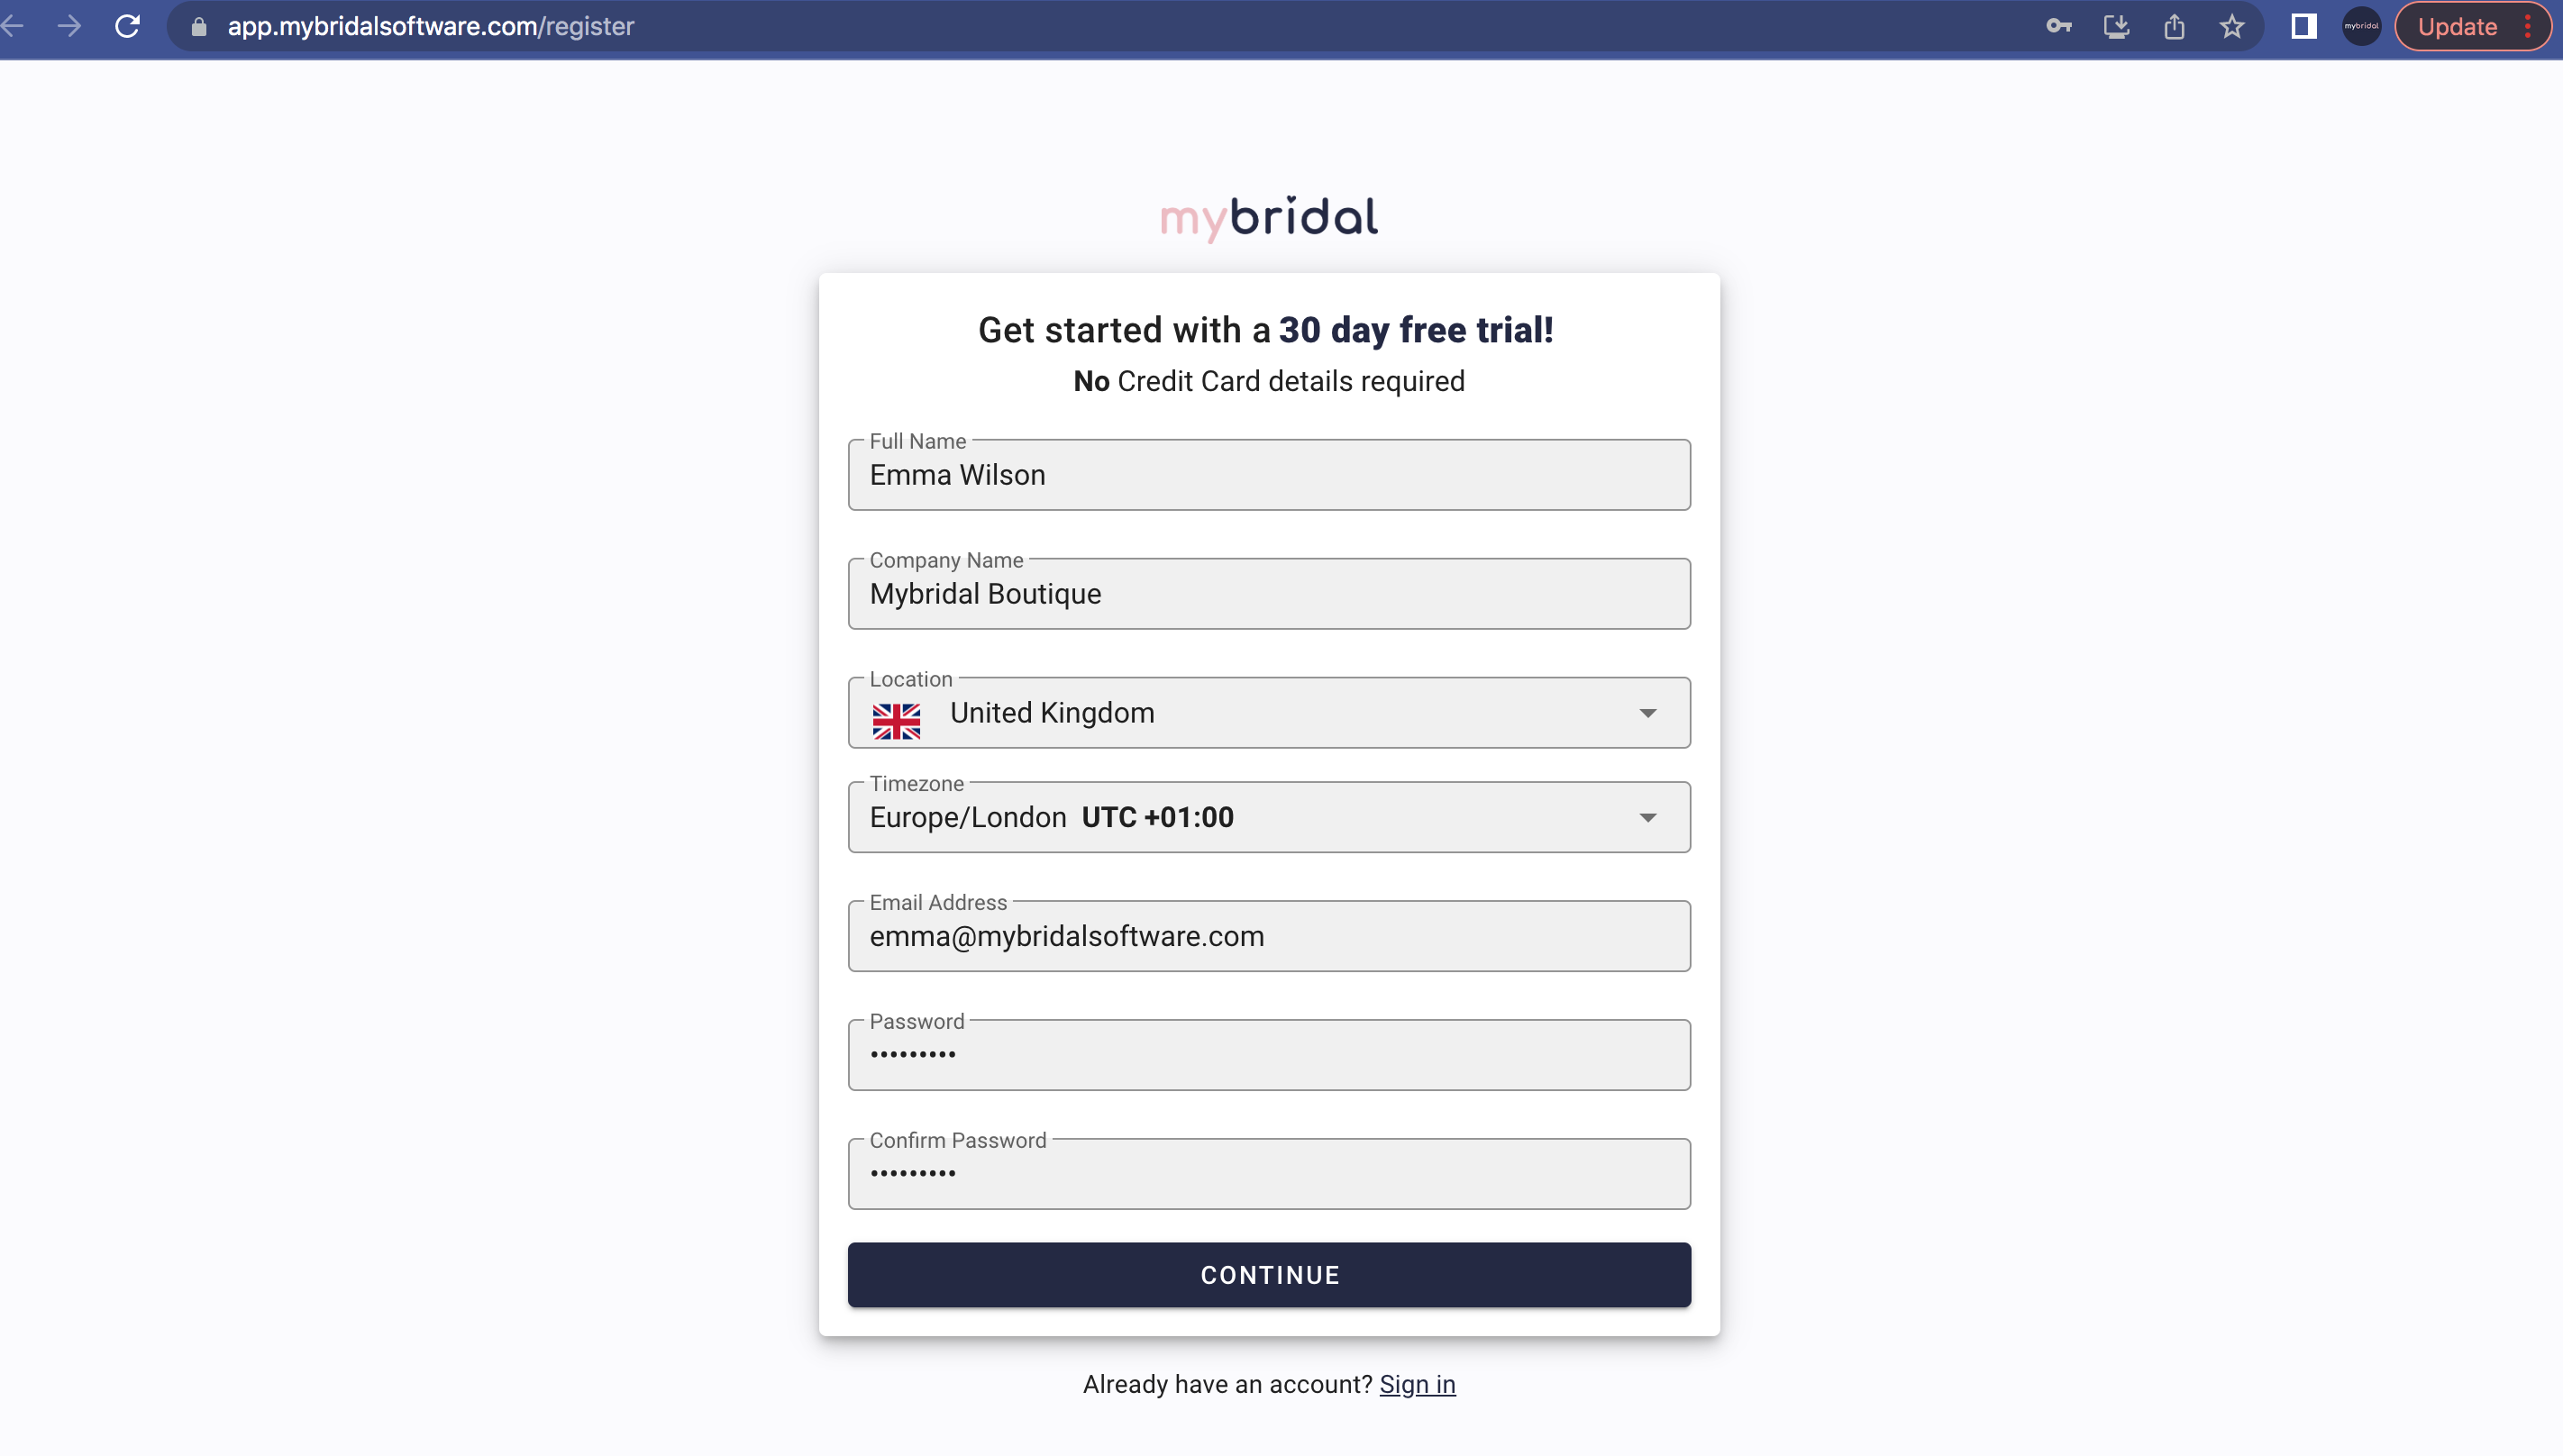
2. Fill in your details as prompted and then click continue.
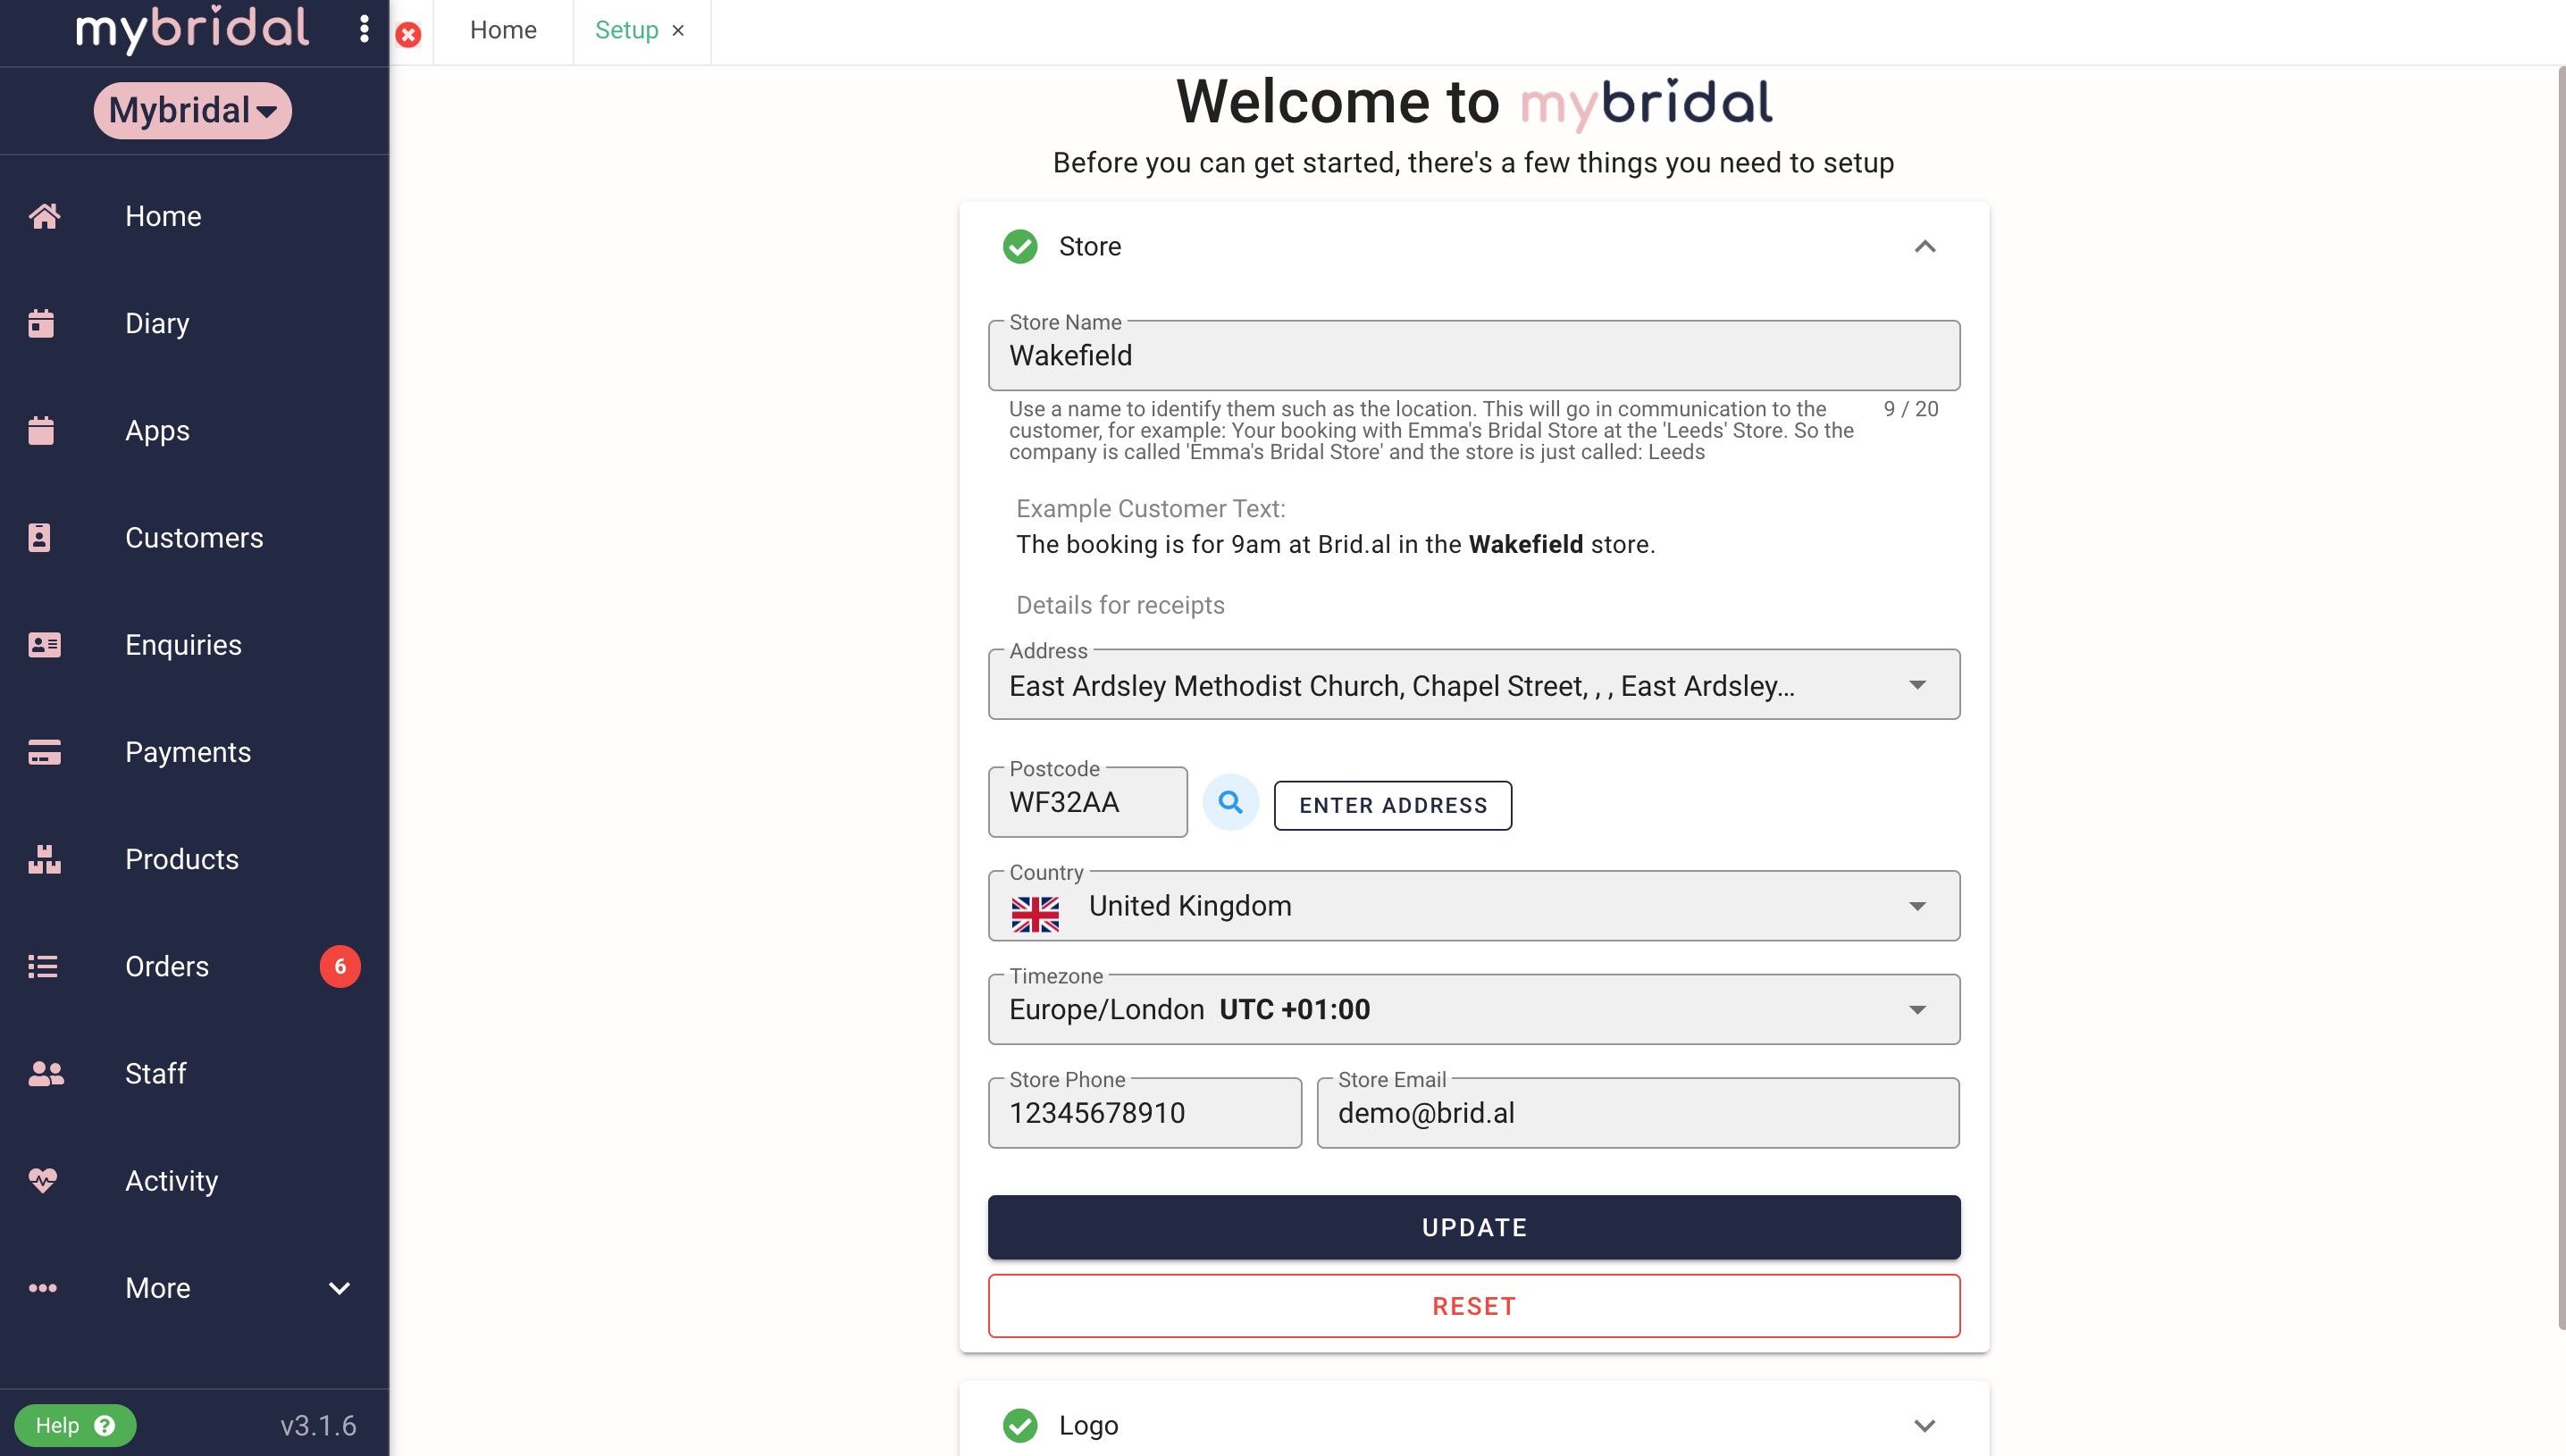
3. You will then be prompted to complete some more details for set up. The Store Name differs from the Company Name in the previous step in that your Company Name is the name of your business, and the Store Name will generally be the location. The examples in the images show Mybridal Boutique (Company Name), and Wakefield (Store Name). This will be used in communication to your customers, for example 'Your booking is confirmed at Mybridal Boutique at the Wakefield Store'. This also means you can add multiple stores if you have more than one.
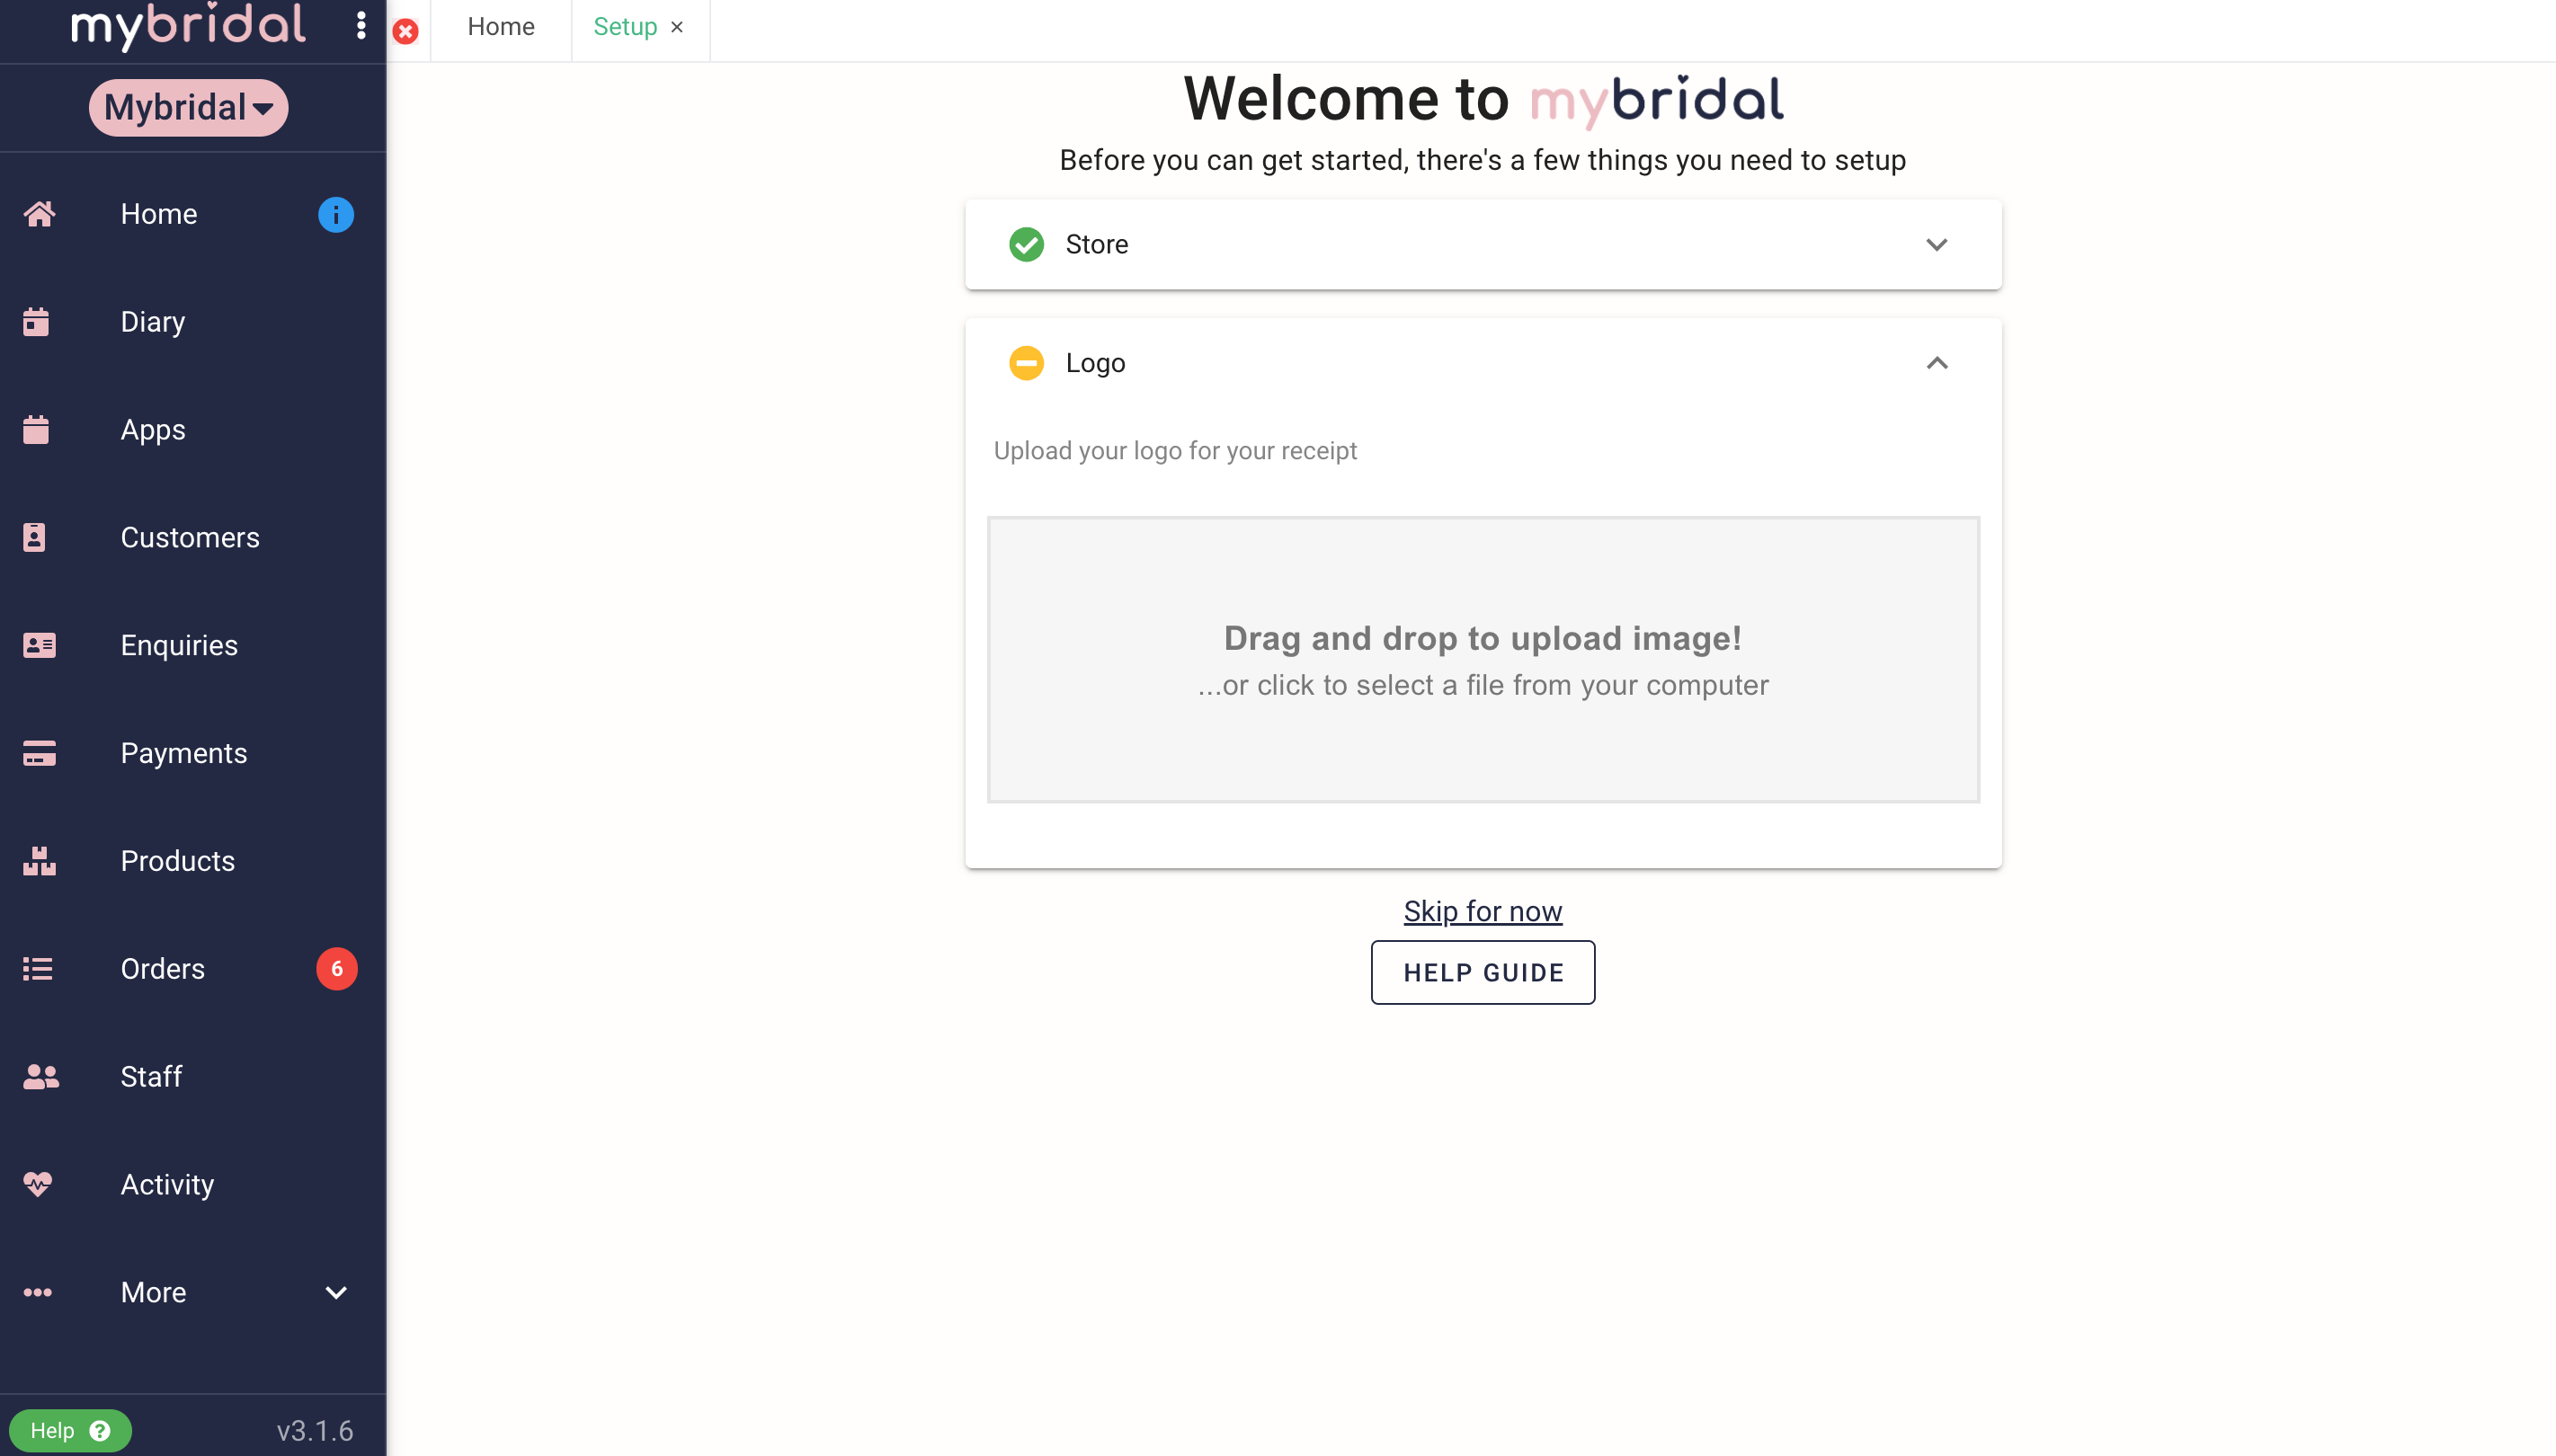
4. Upload your logo. You can do this by dragging and dropping it across, or by clicking on the grey box to select a file from your computer to upload. You can click 'skip for now' and revisit at a later date if you don't have access to your logo at this point in time.
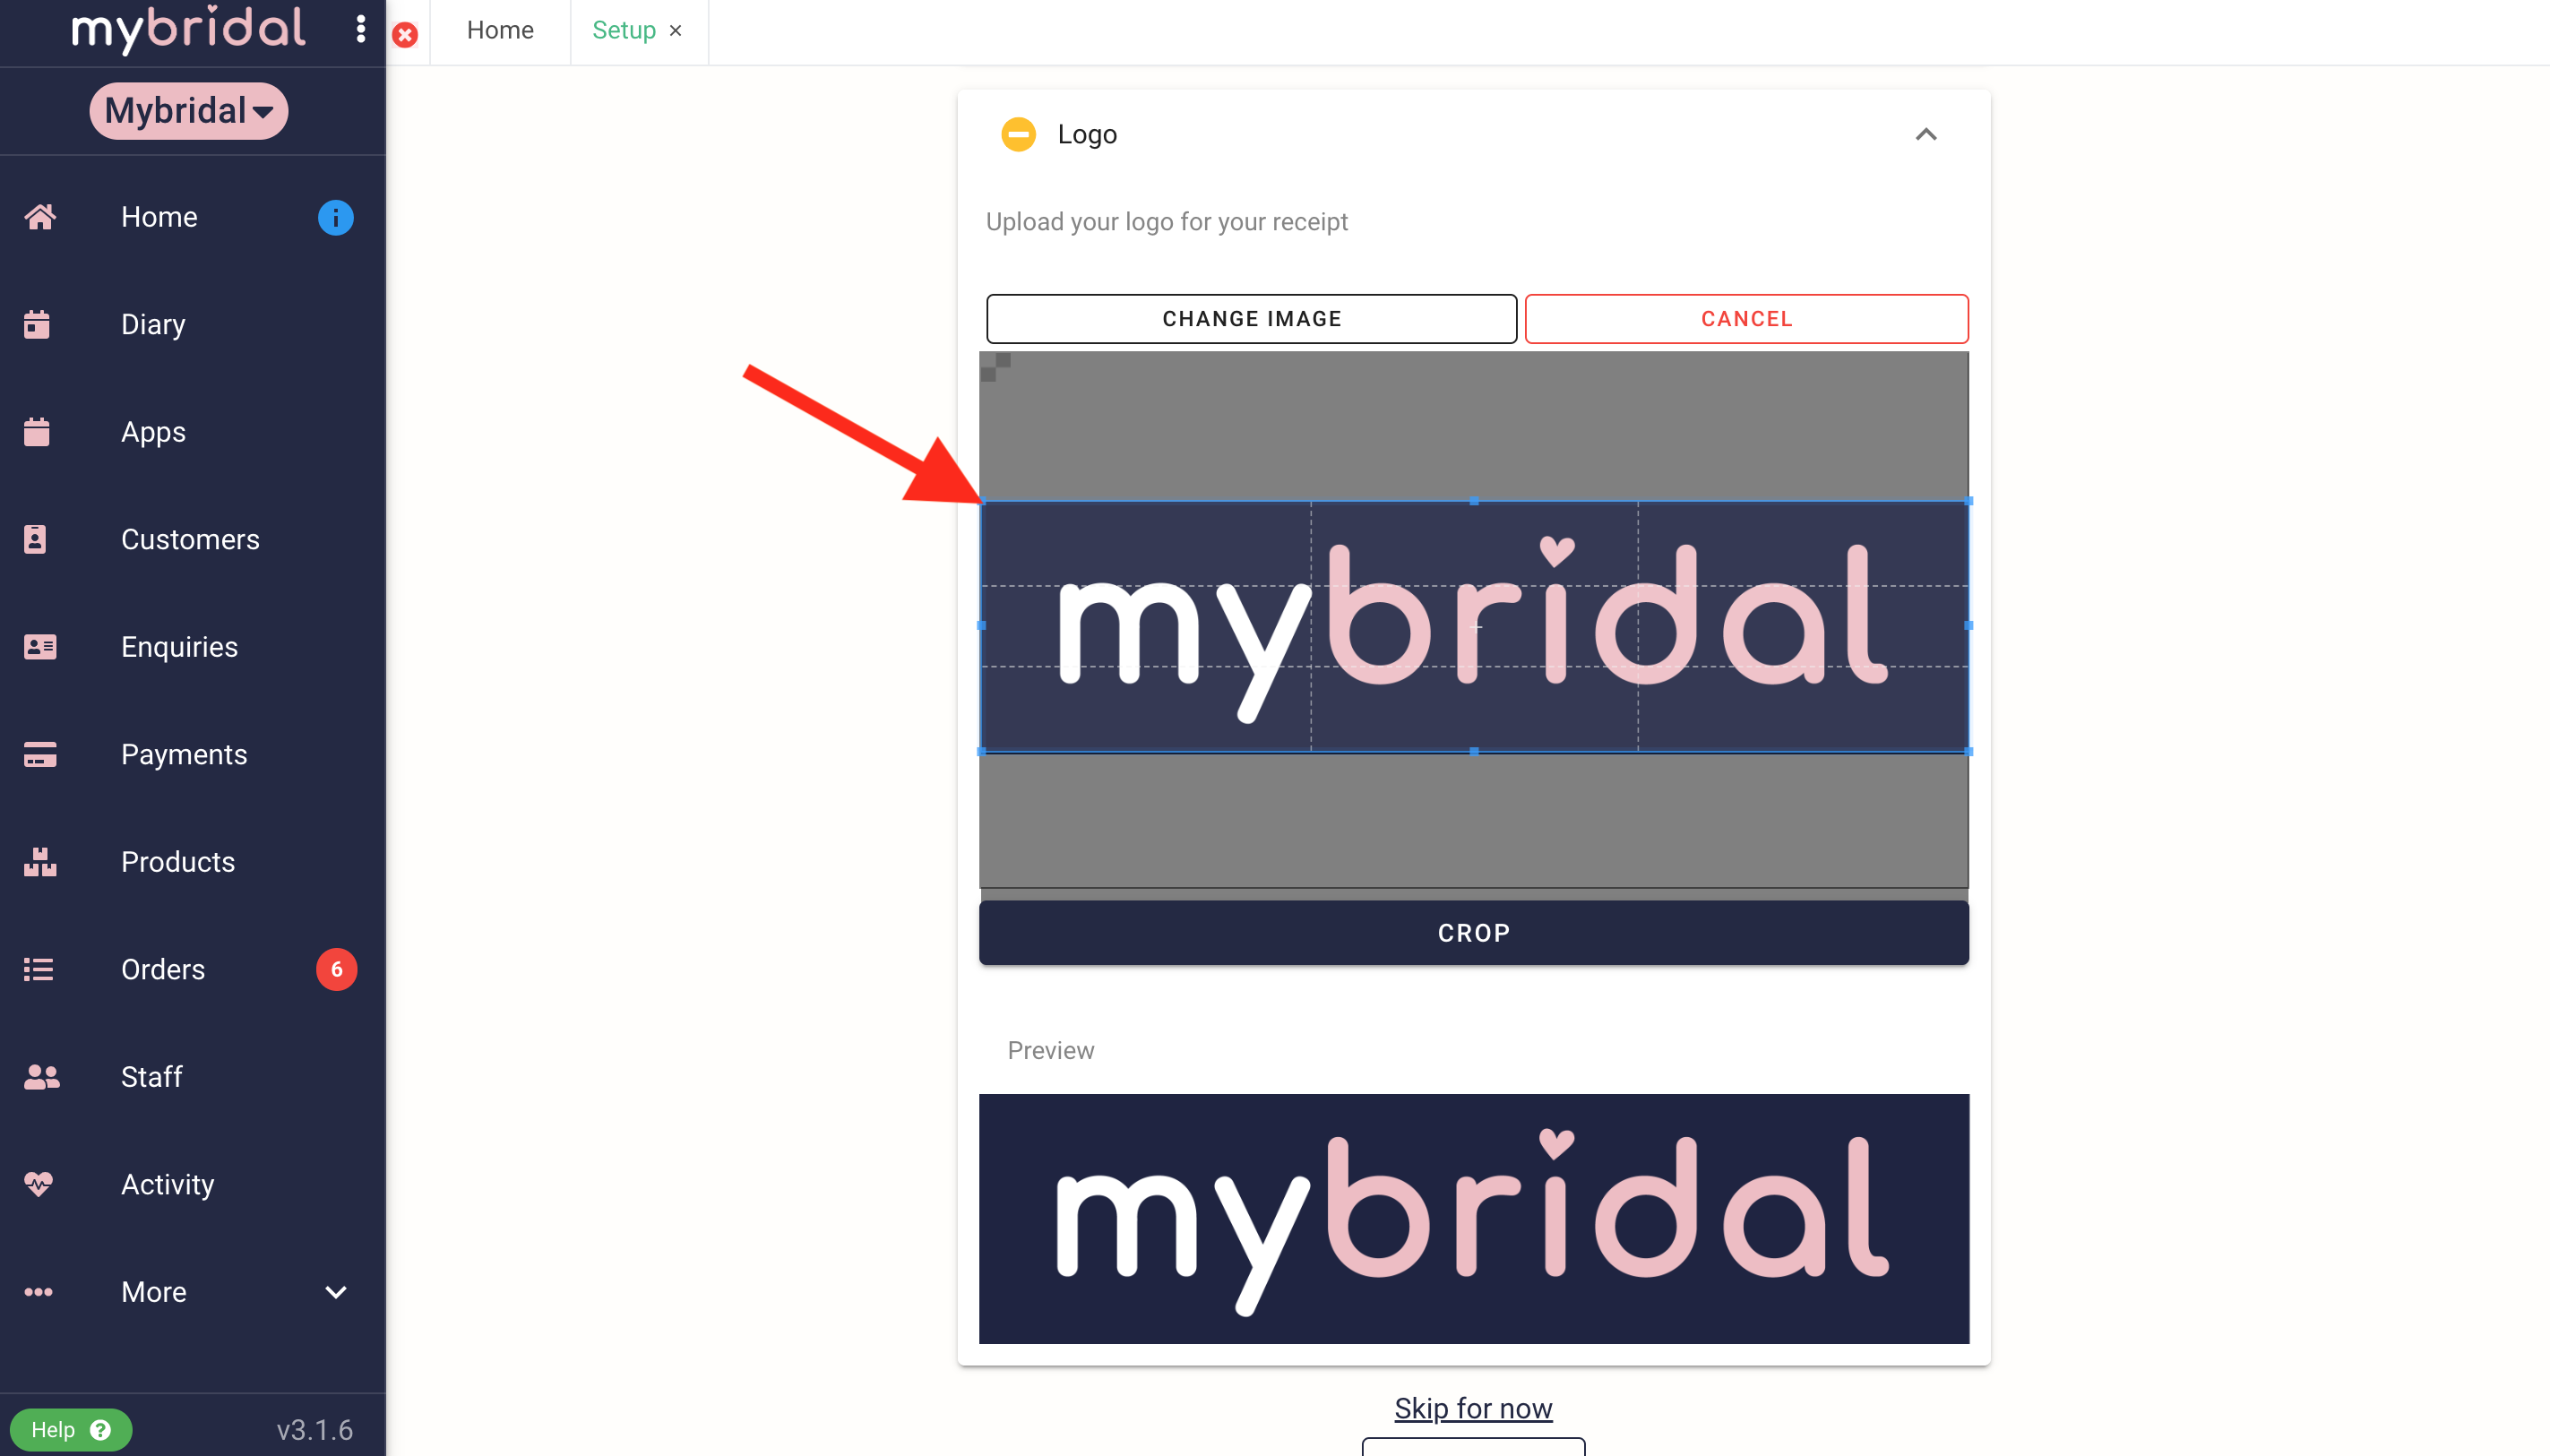
5. Resize your logo to fit. You can do this by dragging the blue box to fit your logo and then click crop.
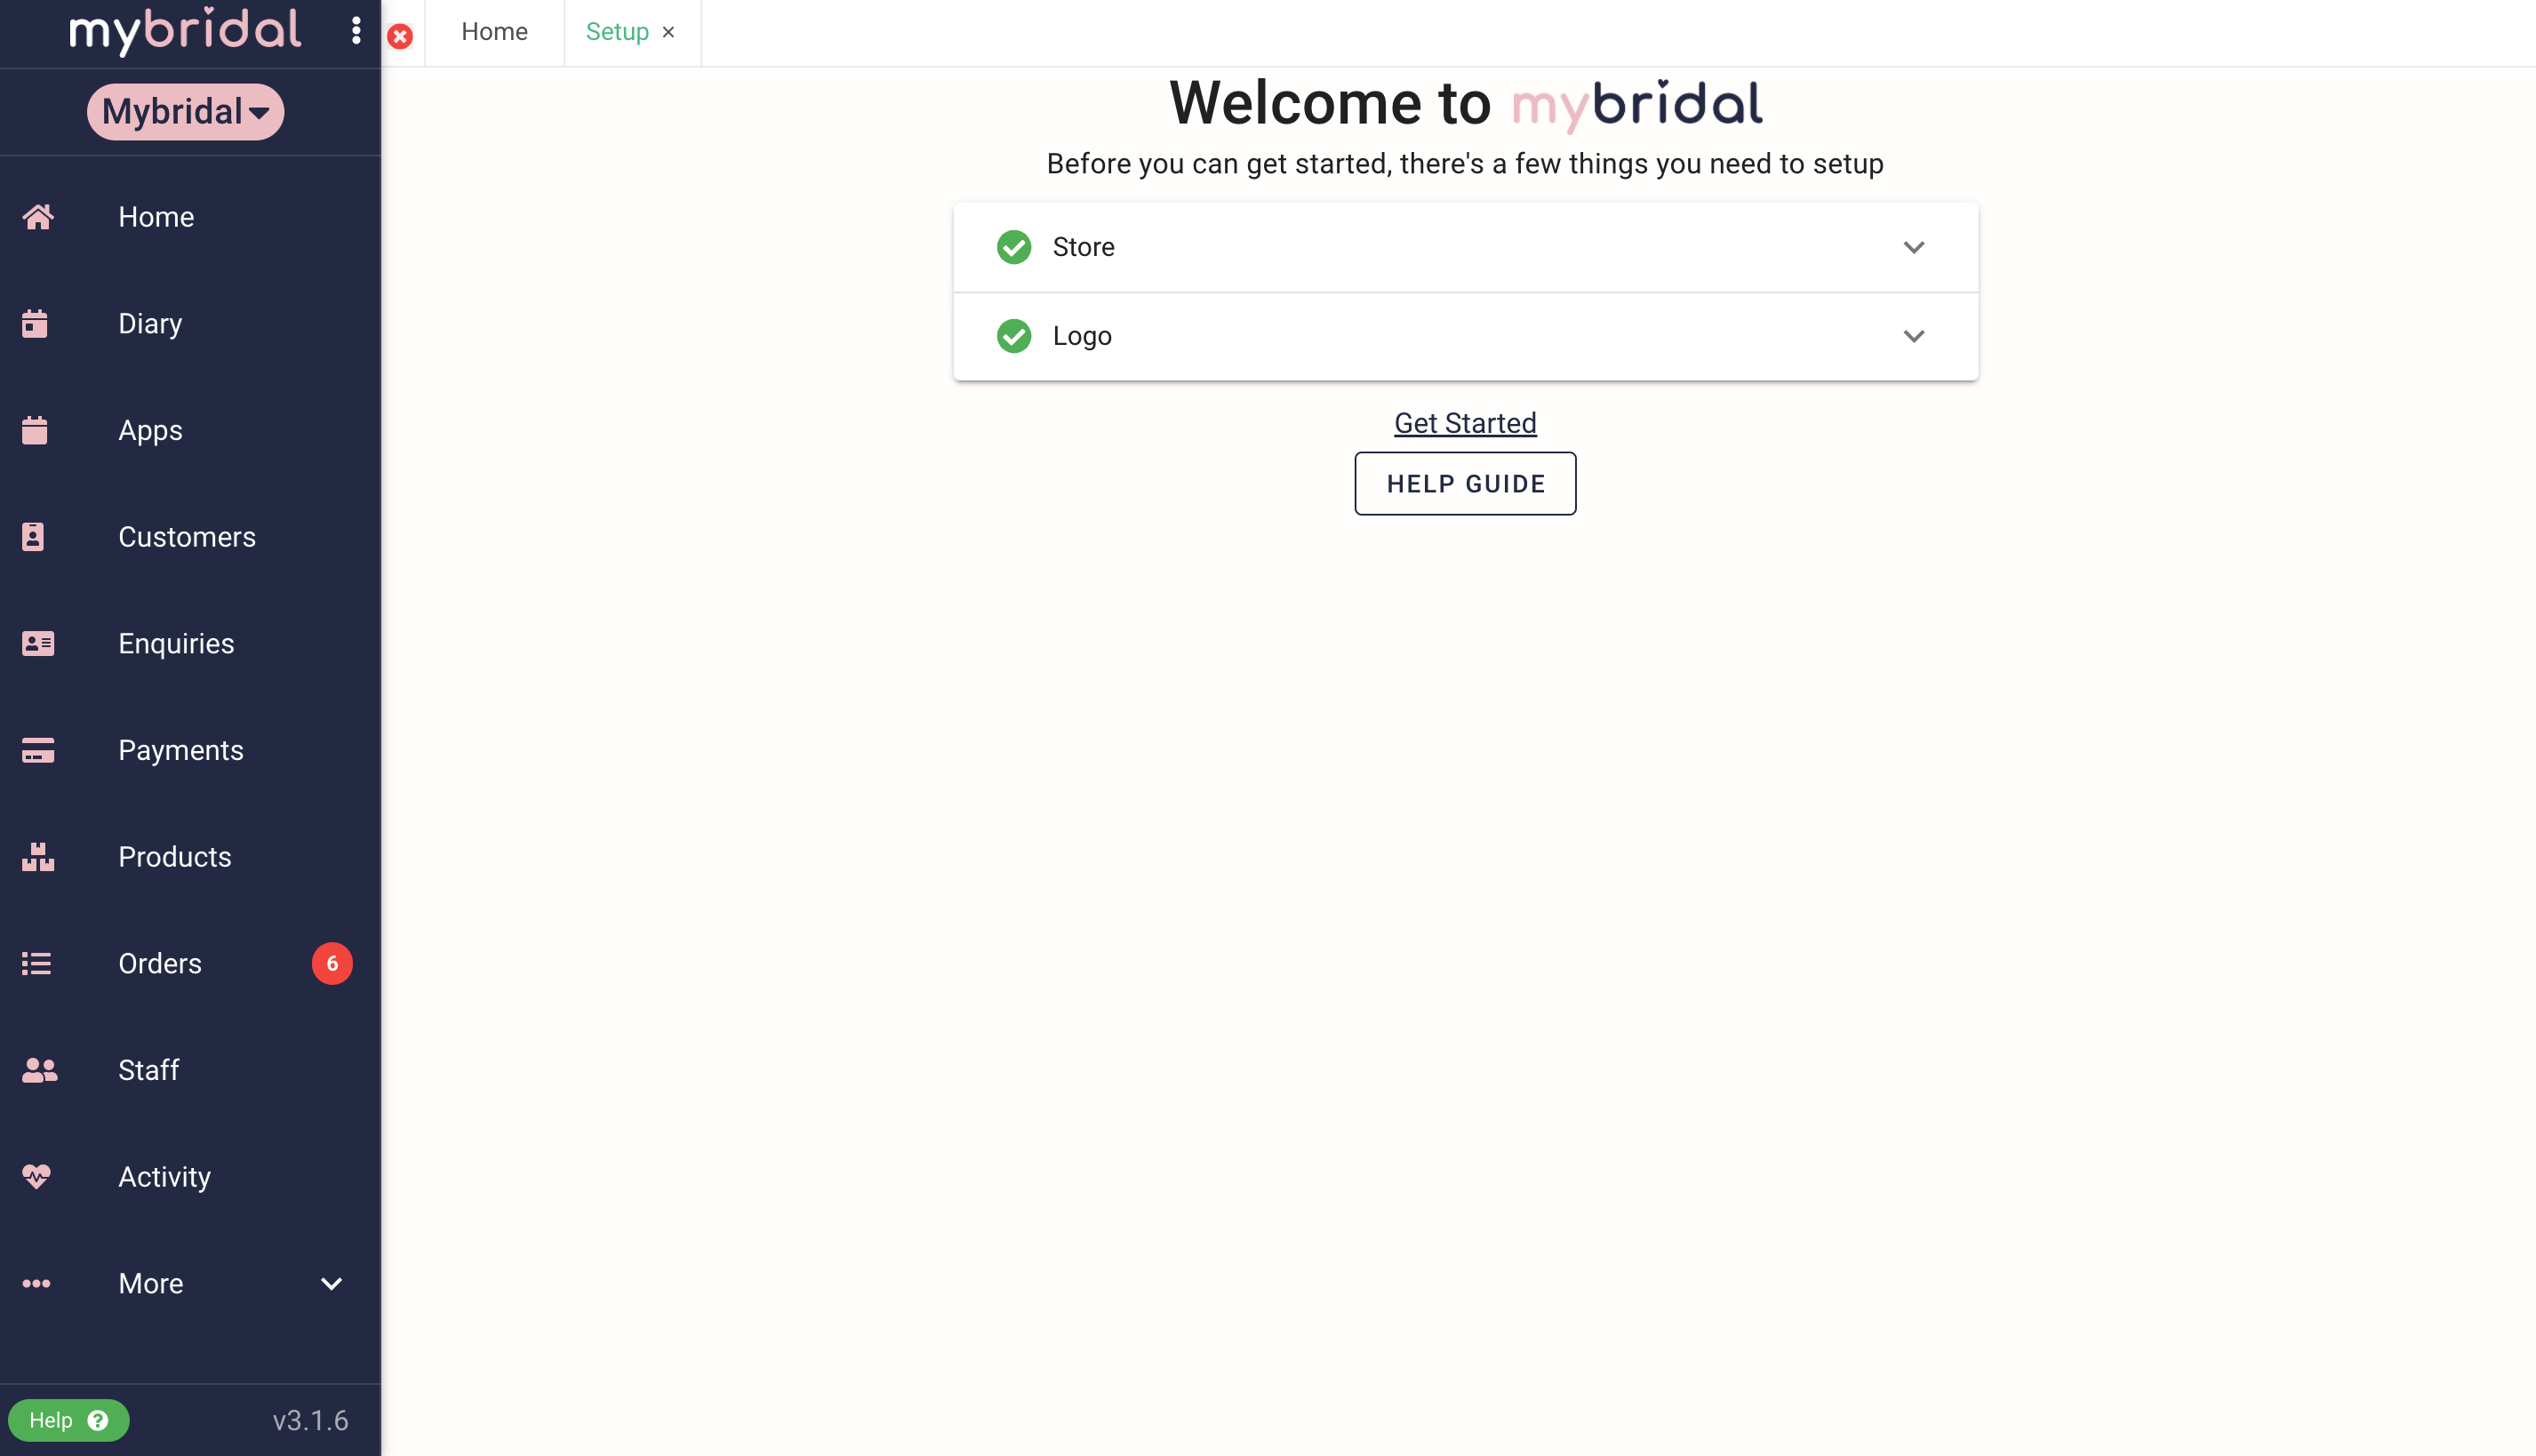
6. Congratulations, your setup should be complete! You should see the screen below to show the setup is complete. You may want to explore mybridal at your leisure, or you may want to check out our help guides to get you started. You are also more than welcome to request a free demo of the system and you can do this by messaging on the chat function found in the help section, or by emailing emma@mybridalsoftware.com.
