What exactly is an autoflow and how are they relevant to you?
Autoflows allow you to set up rules to automatically send communication to your brides. This may be as simple as a confirmation email / text being sent at the time an appointment is booked, or may involve future scheduling like an appointment reminder message automatically sending 2 days before an appointment is due.
We have created autoflows to allow you to automate your communication with your customers. If fully utilised you will not have to spend any time at all emailing, texting or contacting your brides, you can just allow mybridal to take care of this for you leaving your precious time free to focus on running your store.
Autoflows work by scheduling when to send email and SMS templates. There are a few default templates already created that you can send or you can create your own personalised templates (See the 'Templates' guide). We have created default autoflows for you to copy for appointment confirmation and reminder messages as they are the commonly used, however these defaults are completely customisable or you can create your own from scratch if you wish.
You can access autoflows by clicking on the Automation tab in the menu bar and clicking on the autoflows button at the top of the screen. This page will show you the Default Autoflows and My Autoflows.
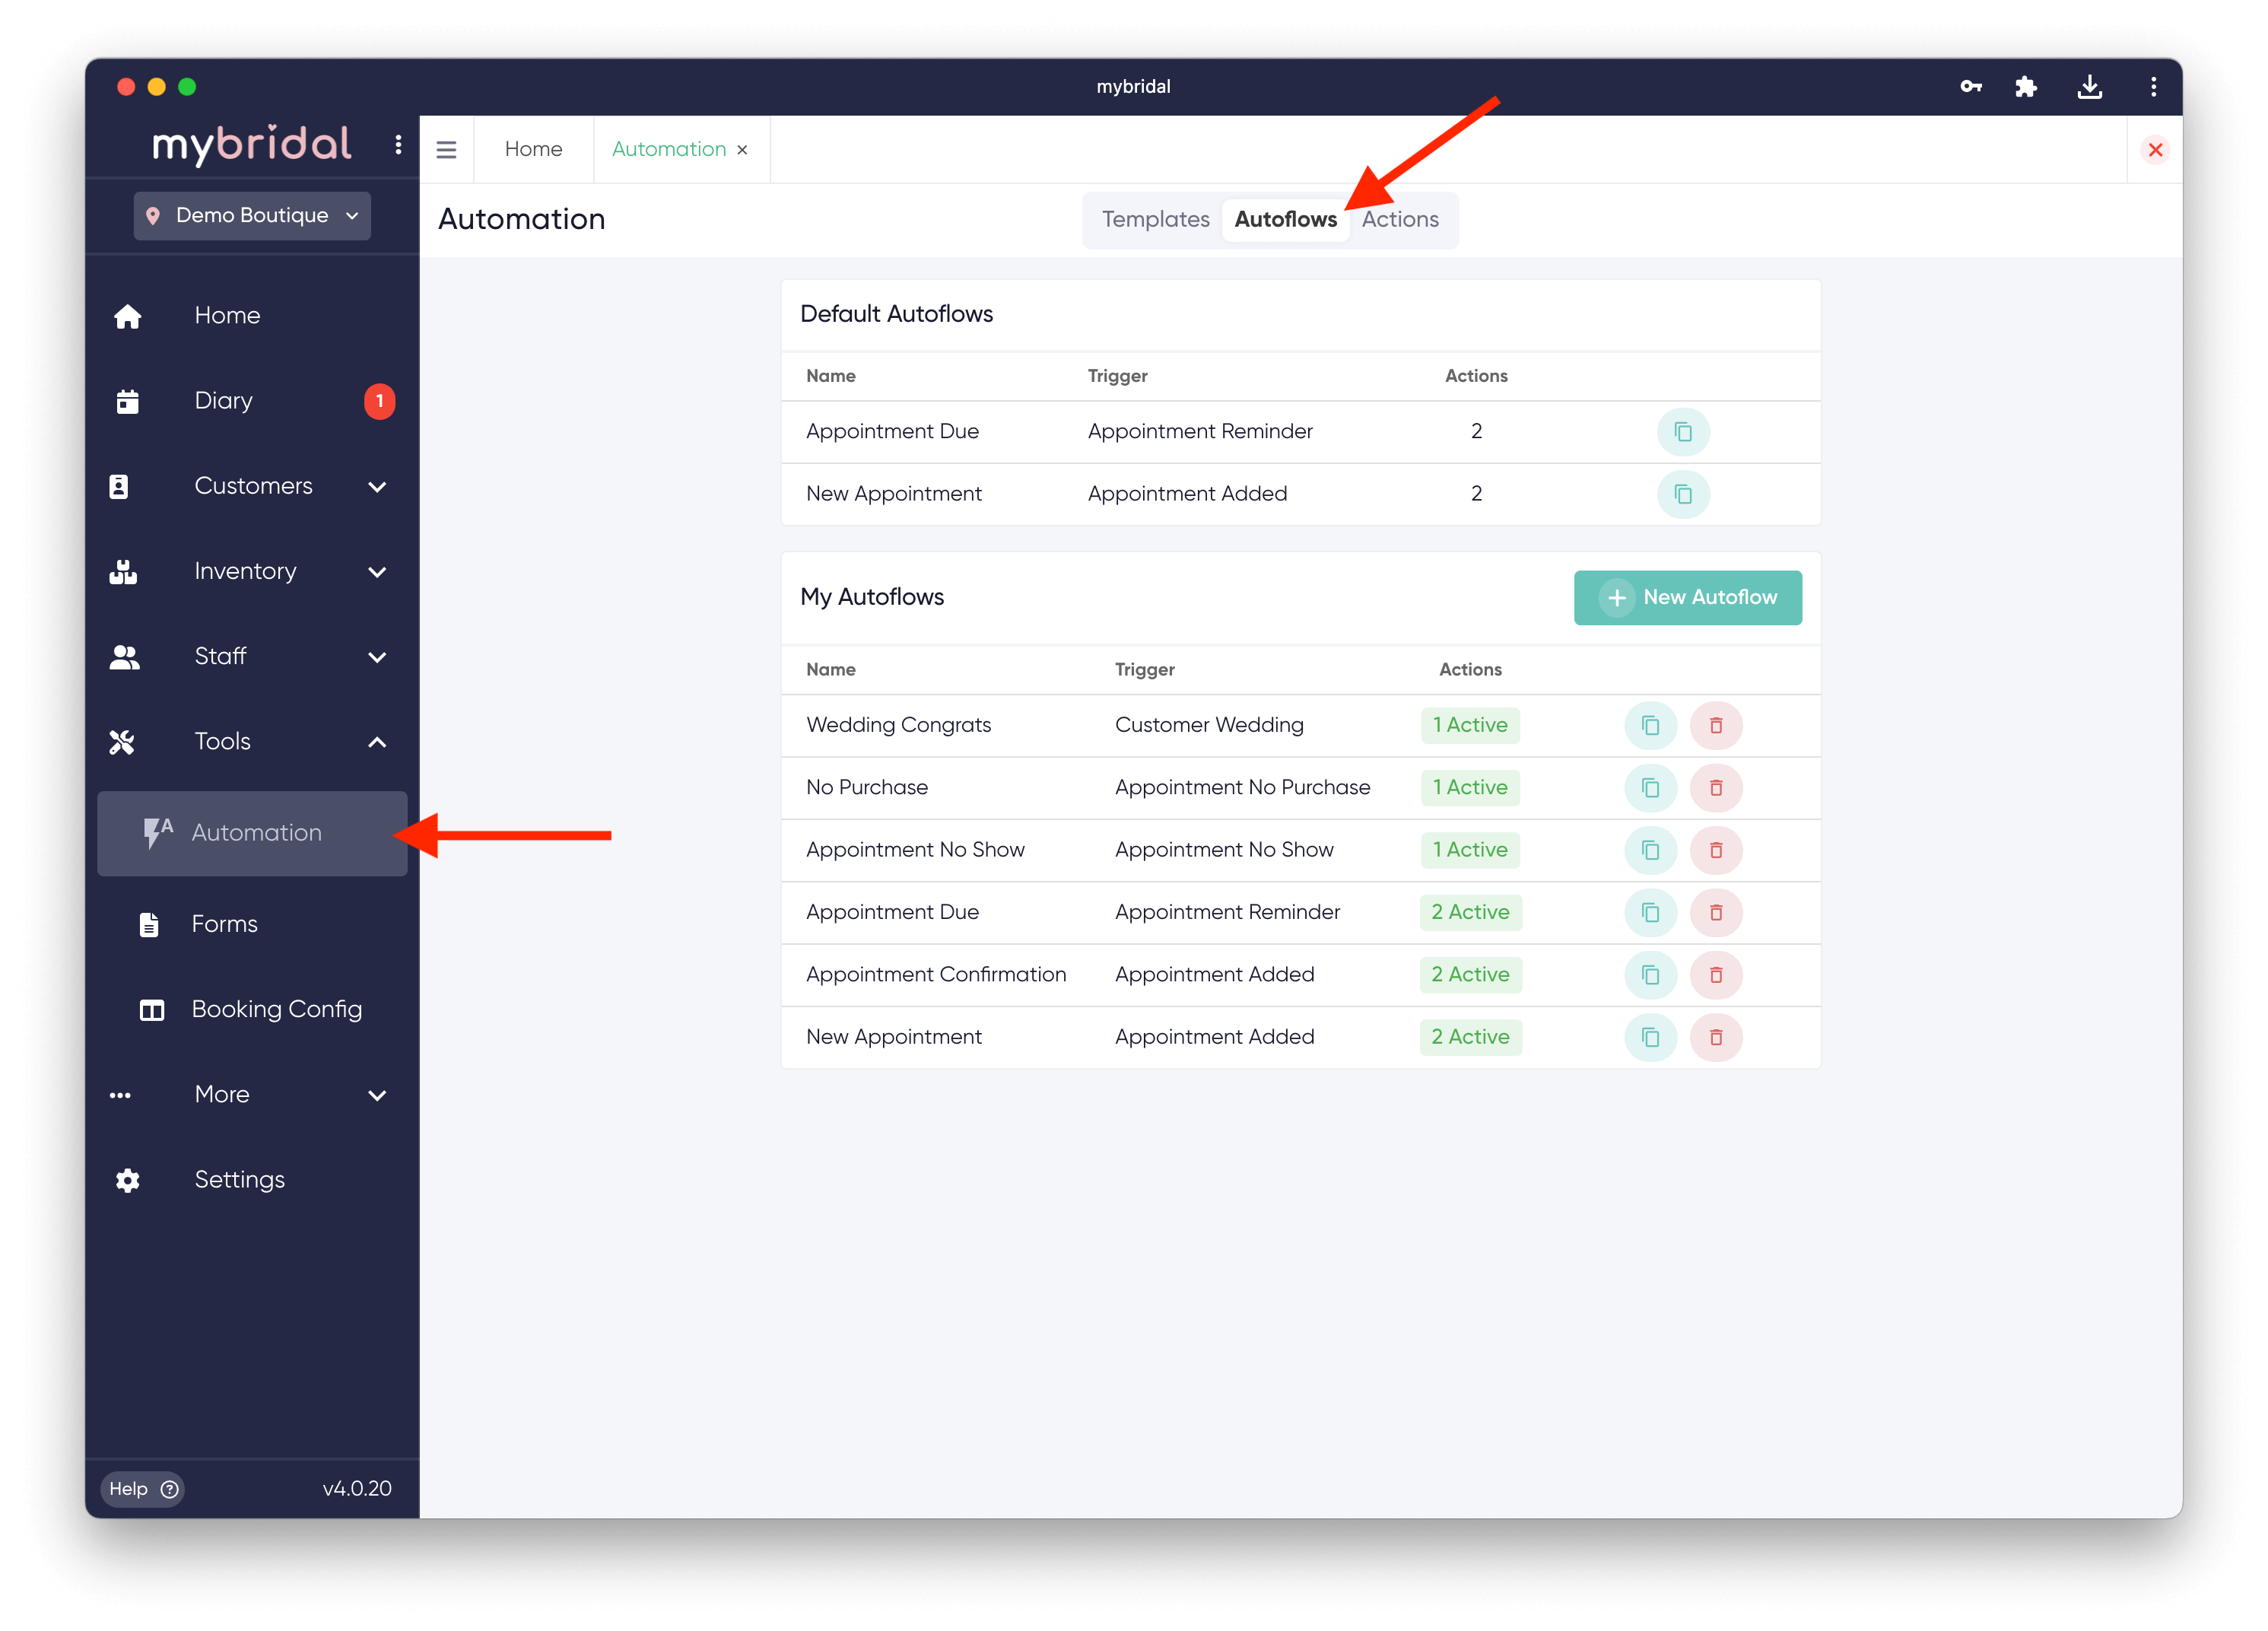
You are able to create autoflows using the following triggers:
Appointment Added
The most used autoflow for any business is likely to be the appointment confirmation message. When an appointment is created, an appointment confirmation email can be set up to send at the time of booking. You could however create further emails such as a 'How to find our store', or 'What to expect from your appointment' to send in the days following the booking. There is no limit to how many autoflows you can add.
Appointment Reminders
Appointment reminders can be scheduled to send at different intervals such as a week and 3 days prior to the appointment. These can also be scheduled to send after an appointment, you may want to schedule a generic follow up email to fire 3 hours after the customer appointment thanking the bride for attending.
Appointment No Show
You may have a booking policy which dictates you will take a charge in the event of a no show and could schedule a message to send at the time you mark the appointment as a no show on the appointment pop up. This could inform the customer you will be charging their card. You may just want to ask them the reason for the no show and invite them to book another appointment.
Appointment No Purchase
You could schedule a follow up email to trigger a few days after the initial appointment inviting the bride back for a 2nd appointment, or offering them a discount if they were to return and purchase. This uses the 'no purchase' option on the appointment pop up as a trigger.
Customer Added (New Sale)
This message will send when you register a purchase against a new customer. You may want to schedule a thank you for purchasing message for a couple of hours after the sale is added, and then a message the next day explaining your stores process and when to book in for alterations. You may want a message to send straight away giving the customer access to the customer portal.
Sale Added
This message will send every time a sale is added against a customer (not just the first time) and is used to send the sale receipt. It is best to keep it simple with something like 'Thank you for your purchase, please click the link to view your receipt'. For example if a bride buys her dress and then 6 months later makes a secondary purchase like a veil, the sale message will send on both occasions a sale is added against her.
Customer Wedding
This could be as simple as scheduling a congratulations email to send on their wedding day. You may want to send an email a week before with tips for their special day, or maybe a message a couple of days post wedding with advice of how to clean their dress or offering your own services.
Appointment Cancelled by Store
This message will send when you cancel an appointment using the appointment pop up in the diary. It may say something like 'Sorry your appointment is cancelled'.
Appointment Cancelled by Customer
This message will send when a customer cancels their own appointment using the link sent in the appointment reminder message. This allows them to to confirm or cancel their appointment, and if they cancel this message will be sent. It may say 'Sorry you have had to cancel. As long as the cancellation is over 48 hours in advance there will be no charge' depending on your stores policies.
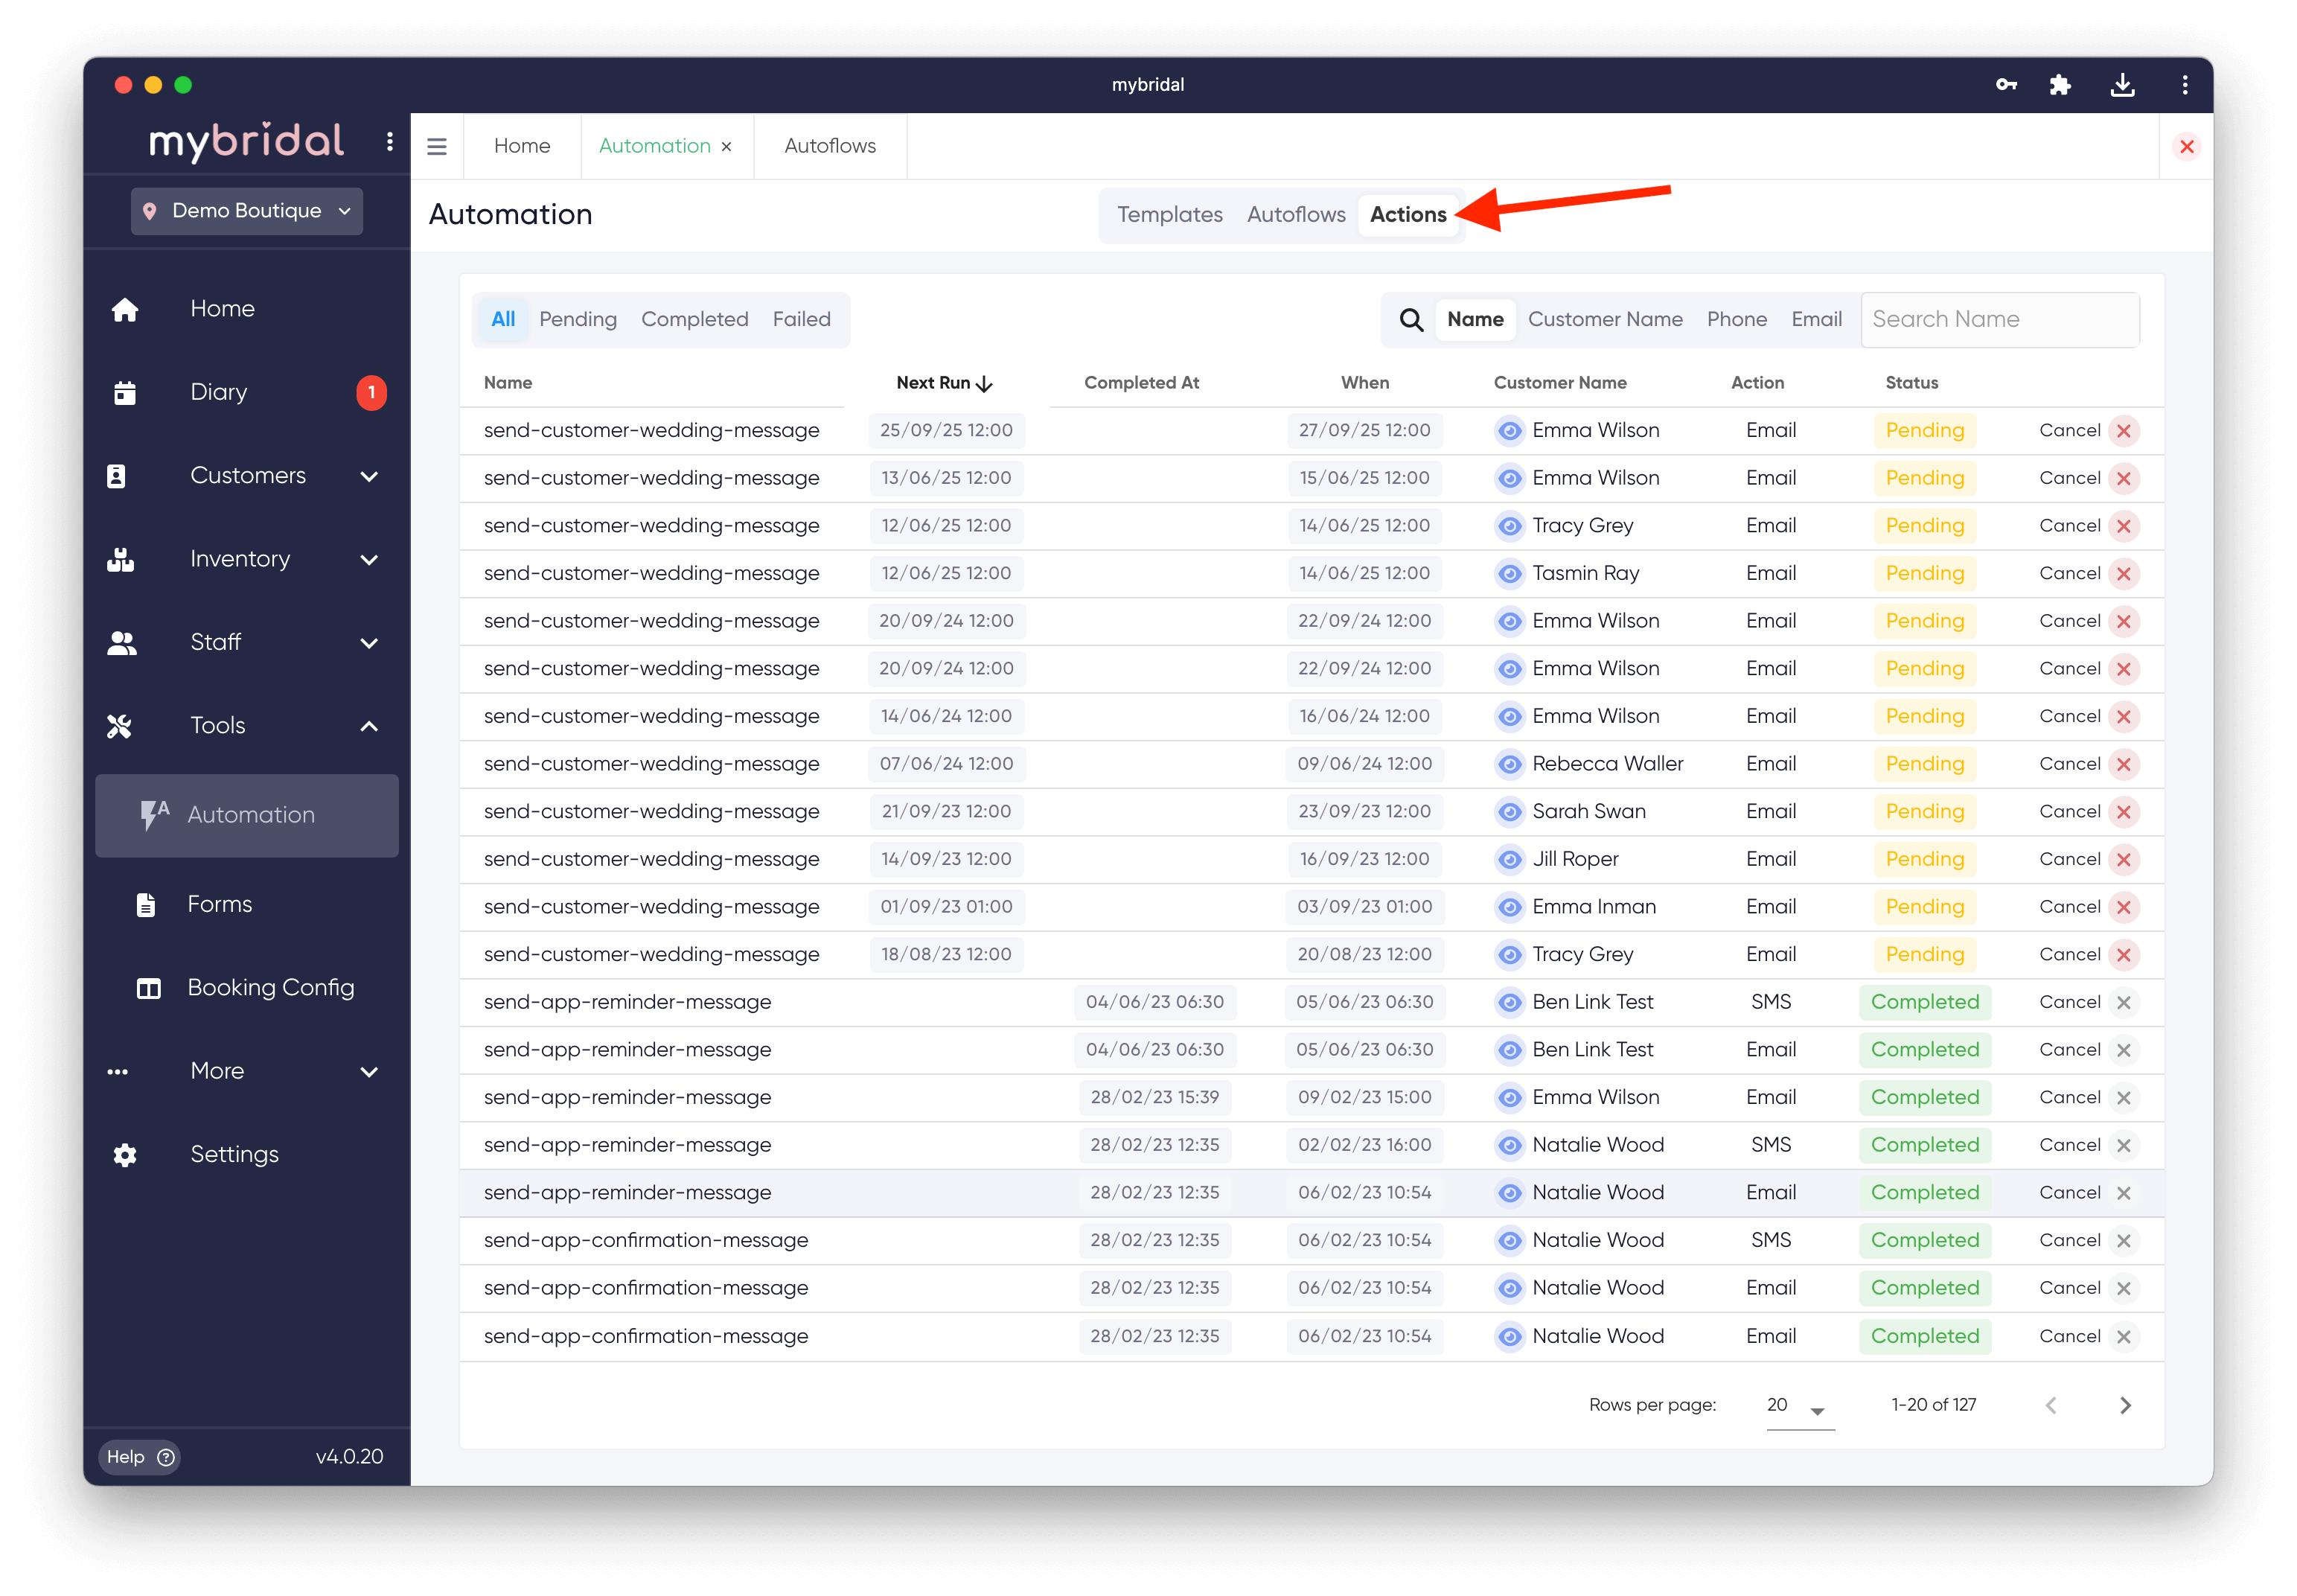
Top Tip!
You can also click on the 'actions' tab to view an itemised list of any autoflows that have completed or are due to complete based off your current rules.
To learn more about autoflows including detailed information about how to get them working for you please read the 'Creating a New Autoflow' or 'Using Autoflows' guides.
We are continuing to add more triggers for autoflows such as when payments are due. Please feel free to get in touch with any ideas for events you would like us to add at help@mybridalsoftware.com.